1- difficulty: medium - hard - lots of editing parts is required.
 |
| here we go again! |
Welcome to Creator et Creatura modding tutorial! today i´ve choosen the nidoqueen!.
You´re going to need any of ravenoid´s mesh chubby body and Carolzilla´s Nidoqueen avatar.
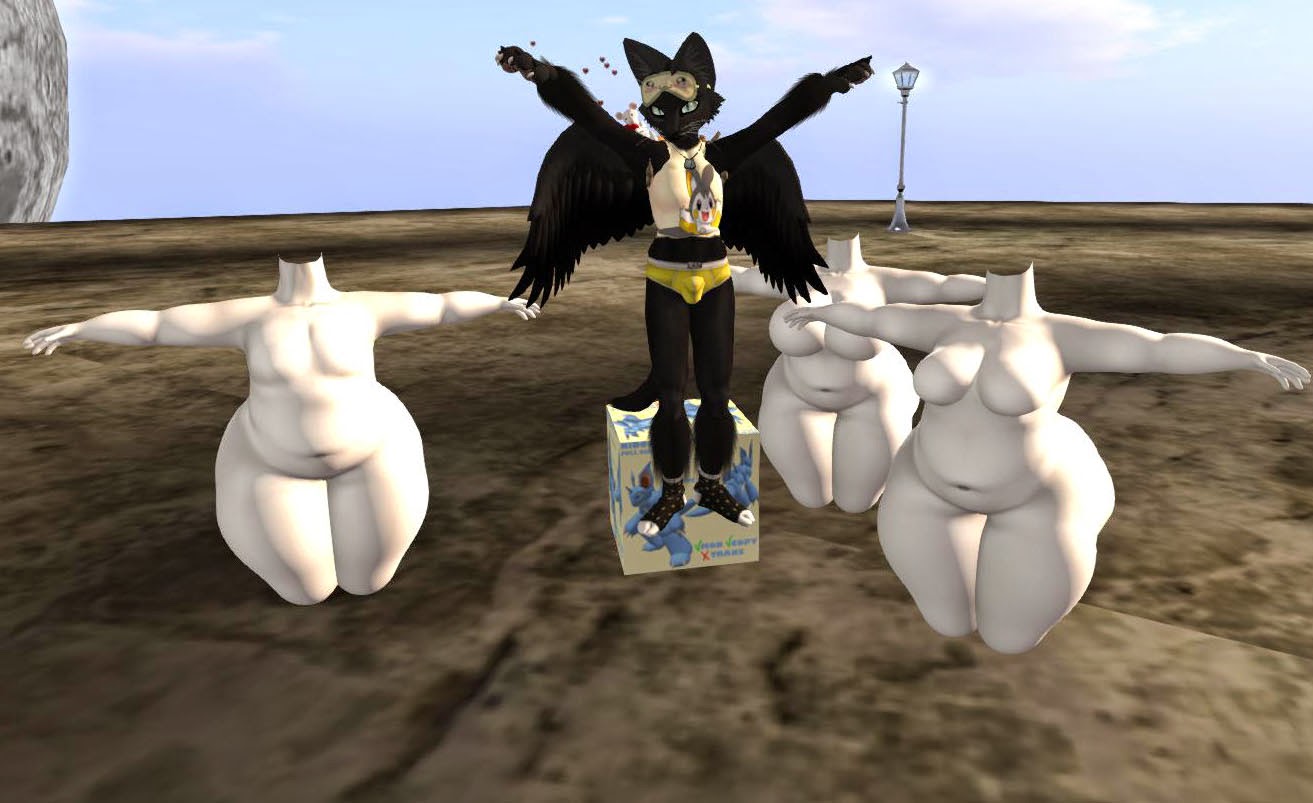
pic one of the Ravenoid´s body, drop and texture it using (nidoqueen_body texture)
Benvindos ao tutorial do Creator et Creatura! Hoje escolhi a nidoqueen. Você precisará de qualquer um dos corpos em mesh de Ravenoid e um avatar de nidoqueen da carolzilla.
use a textura (nidoqueen_body ).
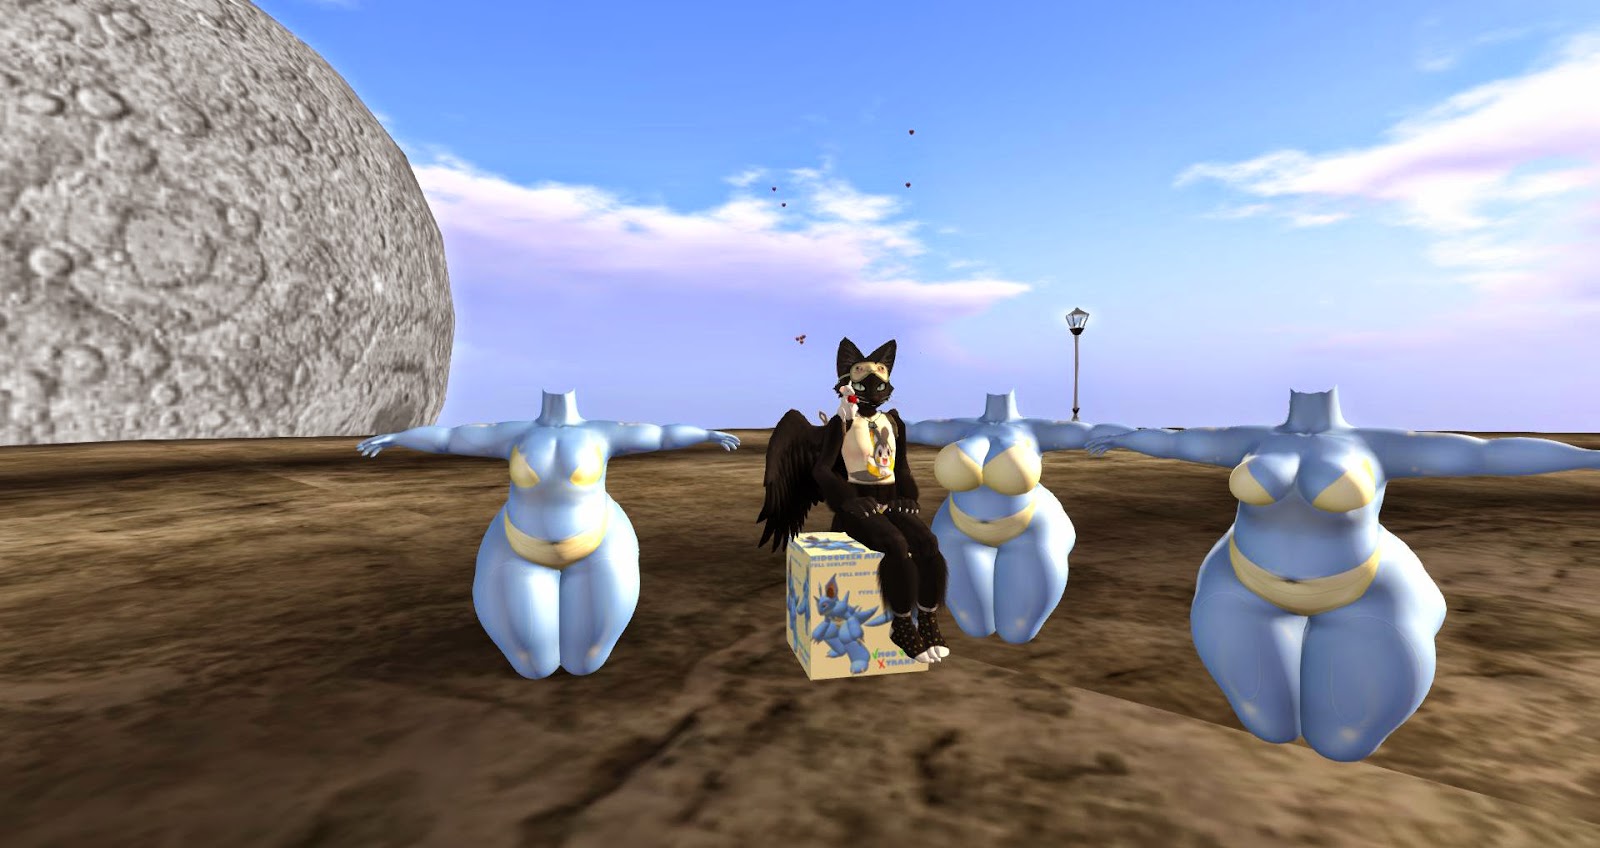 |
| ive texturized the 3 female options... the body texture fits on any of them, |
2. Resizing job
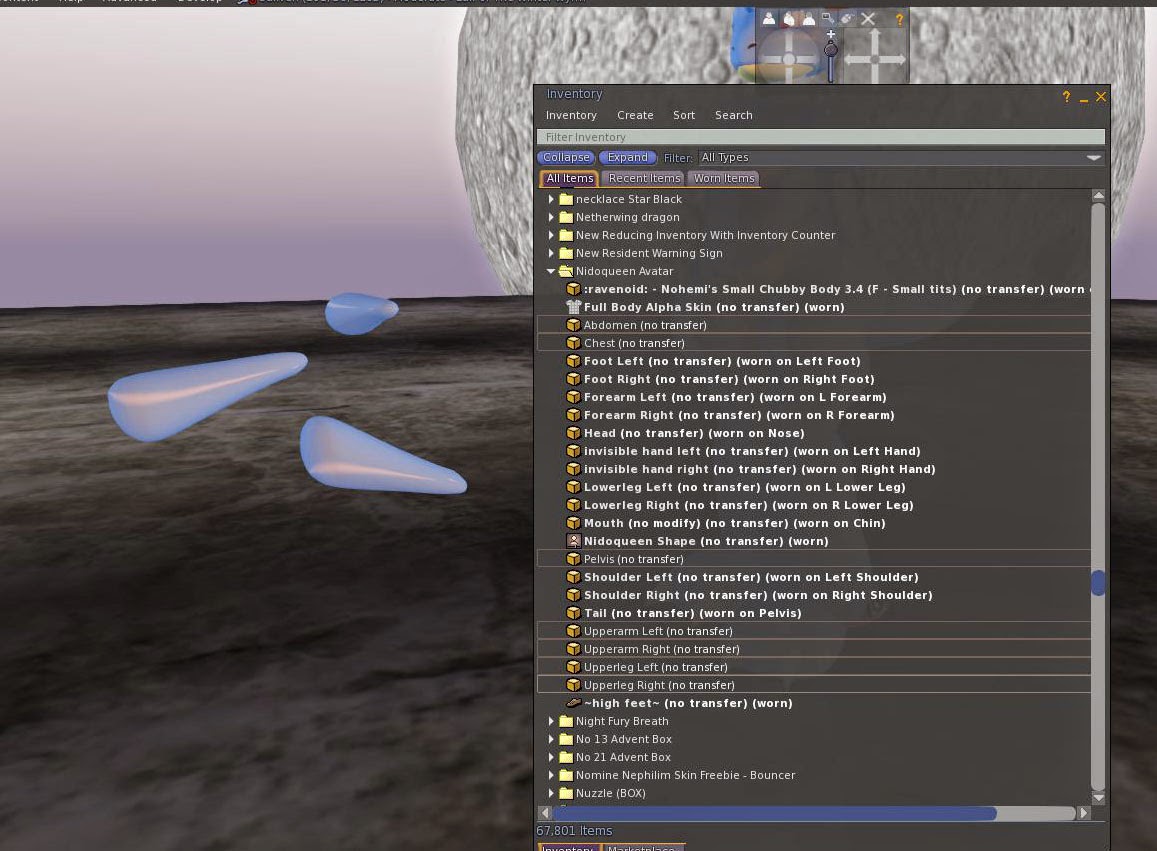
open your box wear the avatar and ravenoid´s chubby body.
Ok, take off chest, pelvis and abdomen. DONT´DELETE them yet, you may want to add the skipes from them to your mod.
resize the parts whe way you want to get new body and parts a nice proportion. On my avatar i also edited the forehead horn and moved it a bit (edit, edit linked parts rotate and move it)
Ok, tire o chest, pelvis e abdomen. Não delete ainda, vc vai querer os espinhos das costas no seu mod.
inicie o trabalho de redimensionamento das partes de forma a criar uma proporção harmonica.
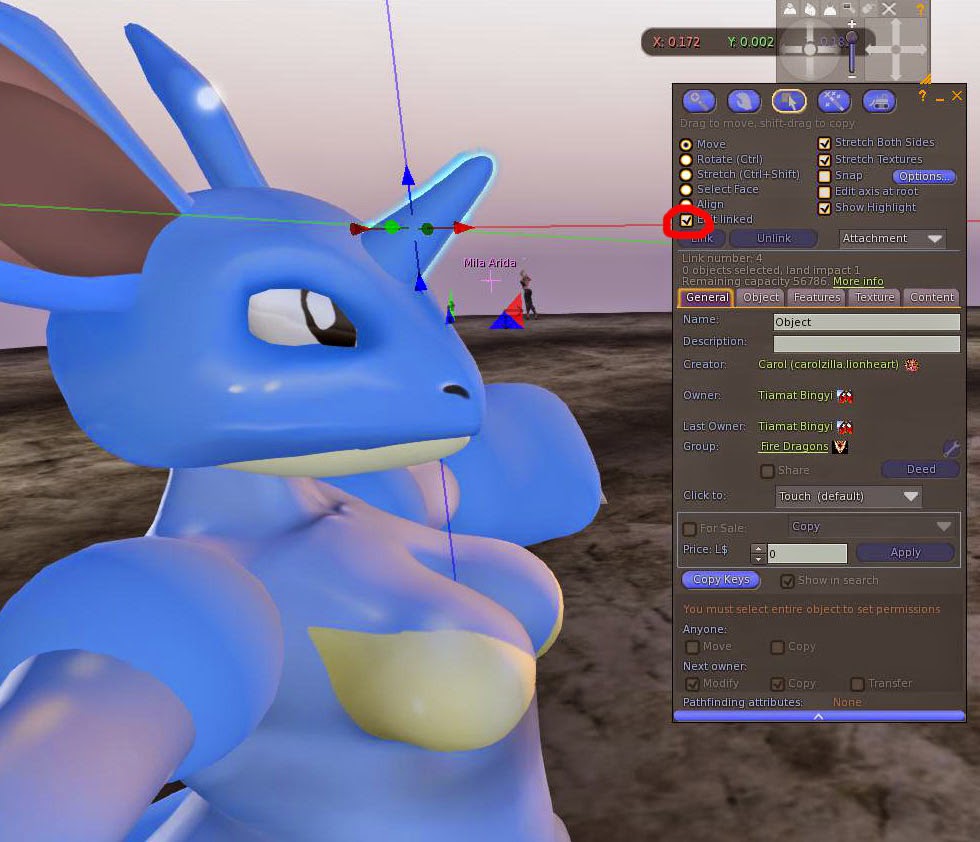 |
| i like the forehead horn a bit more between the eyes |
ok.. texturing parts! :D
Select the part again, using select linked part to texturize them separated. this avatar has a lot os textures, so, please, pay attention on them.
head - nido_face
forehead horn - nido_texture1
ear - nido_ear
eye - nido_eye
head horn (between ears) - nido_texture 2
Texgturize as partes, selecione novamente usando o selecionar partes linkas para texturiza-las uma a uma. Este mod tem um monte de texturas, então por favor, preste atenção .
cabeça - nido_face
chifre da testa - nido_texture1
orelhas- nido_ear
olhos - nido_eye
chifre da cabeça (between ears) - nido_texture 2
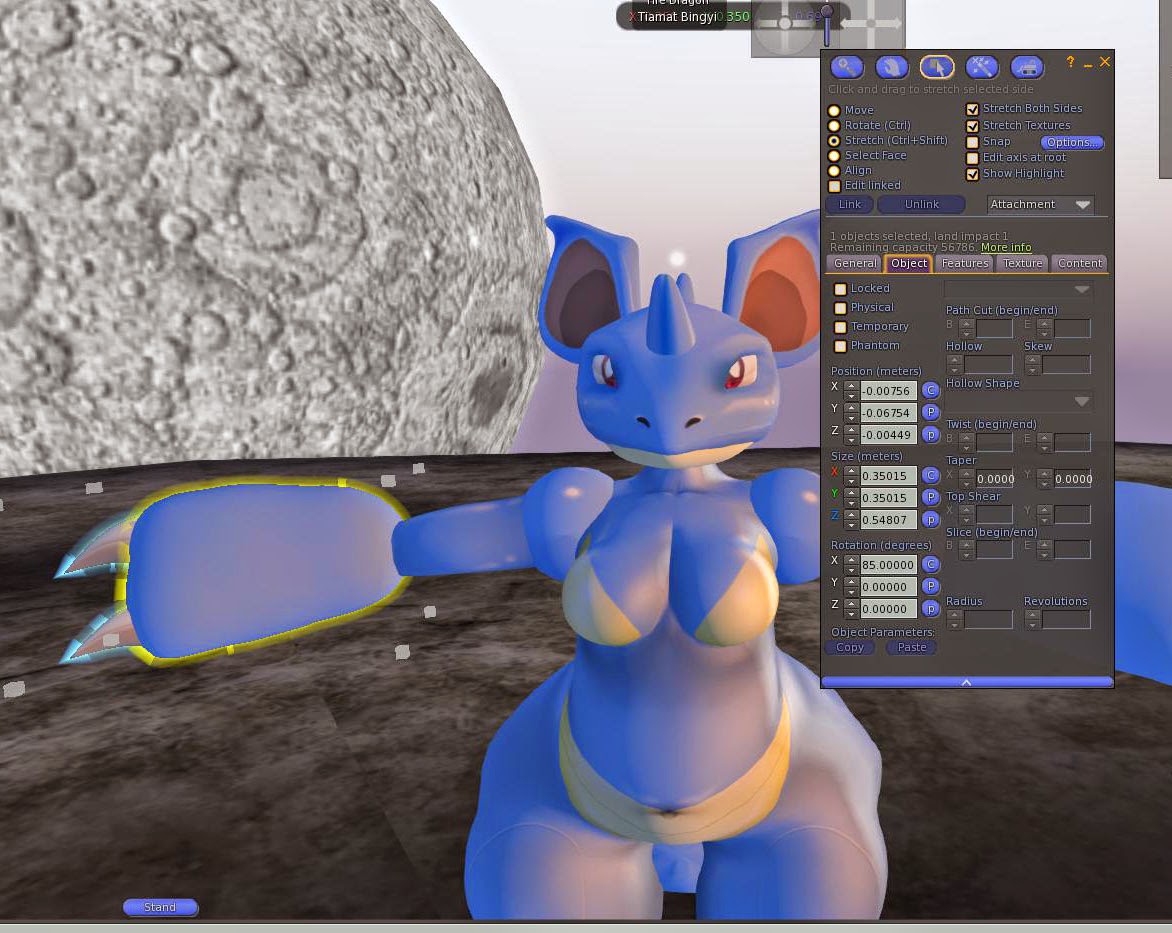 |
| copy the resizing values and use them on the other side. |
Textures:
shoulder - nido_shoulder
forearm - nido_forearm
Texturas:
ombros -nido_shoulder
antebraços - nido_forearm
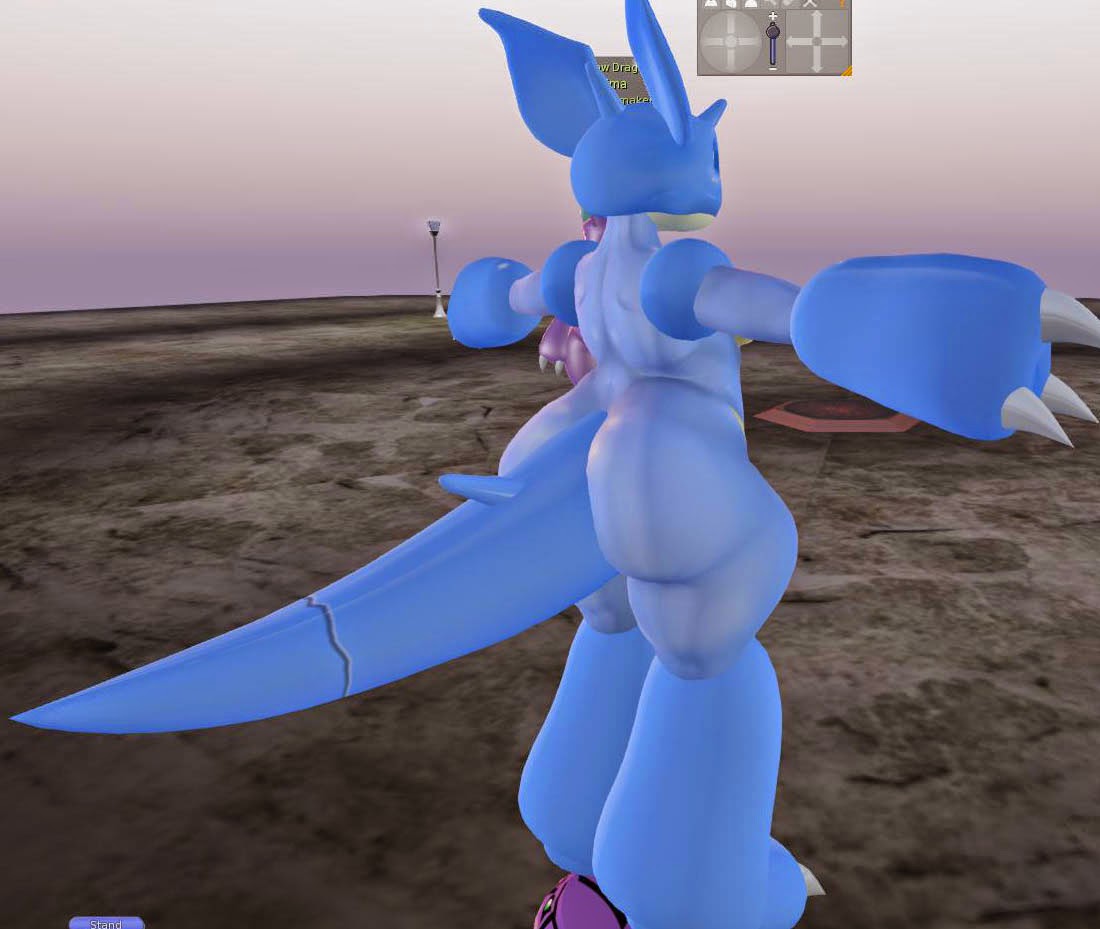 |
| note, ravenoids part has shininess!! D: after finishing texturizing process, you may want to change the shininess to get a better efect. |
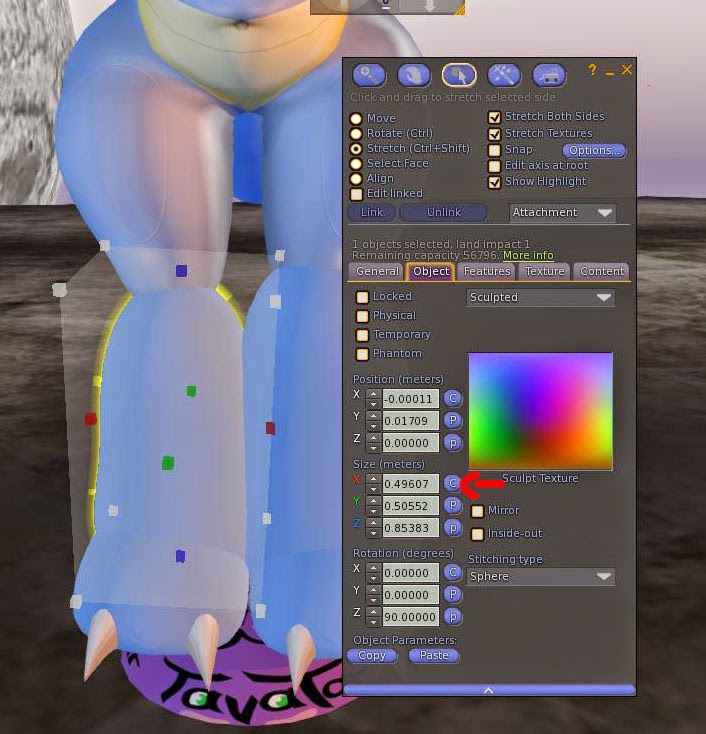 |
| copy lowerleg size values |
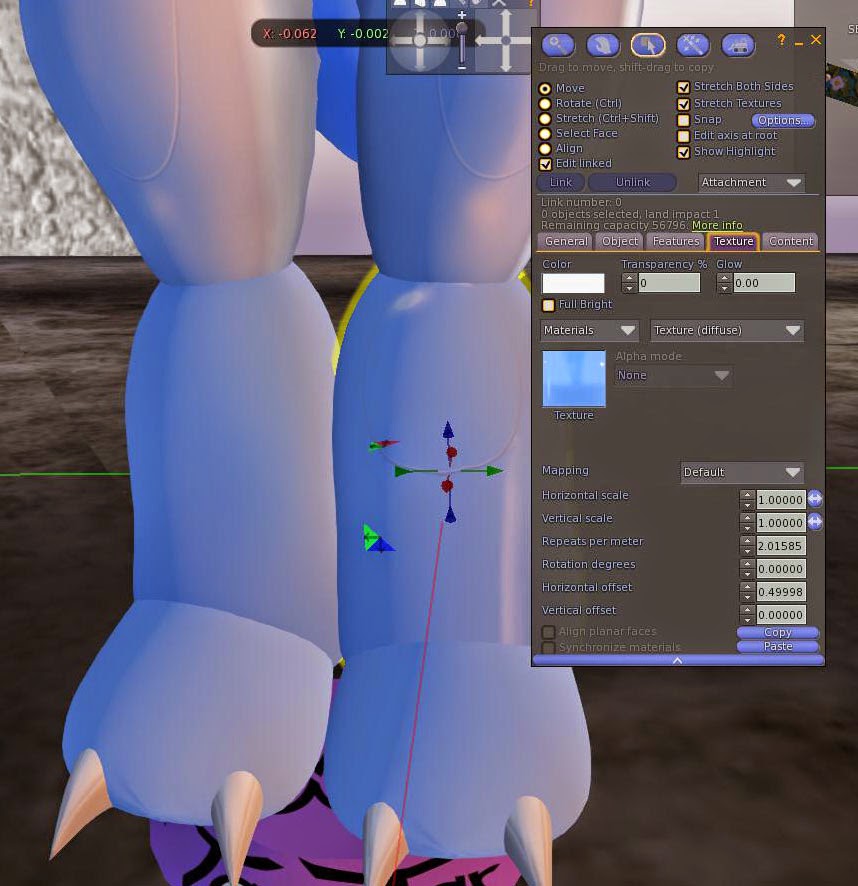 |
| paste lower leg size values.... add textures - nido_lower leg |
Lower leg - nido_lowerleg
foot - nido_foot
claws - --
Perna inferior - nido_lowerleg
pés- nido_foot
garras - --
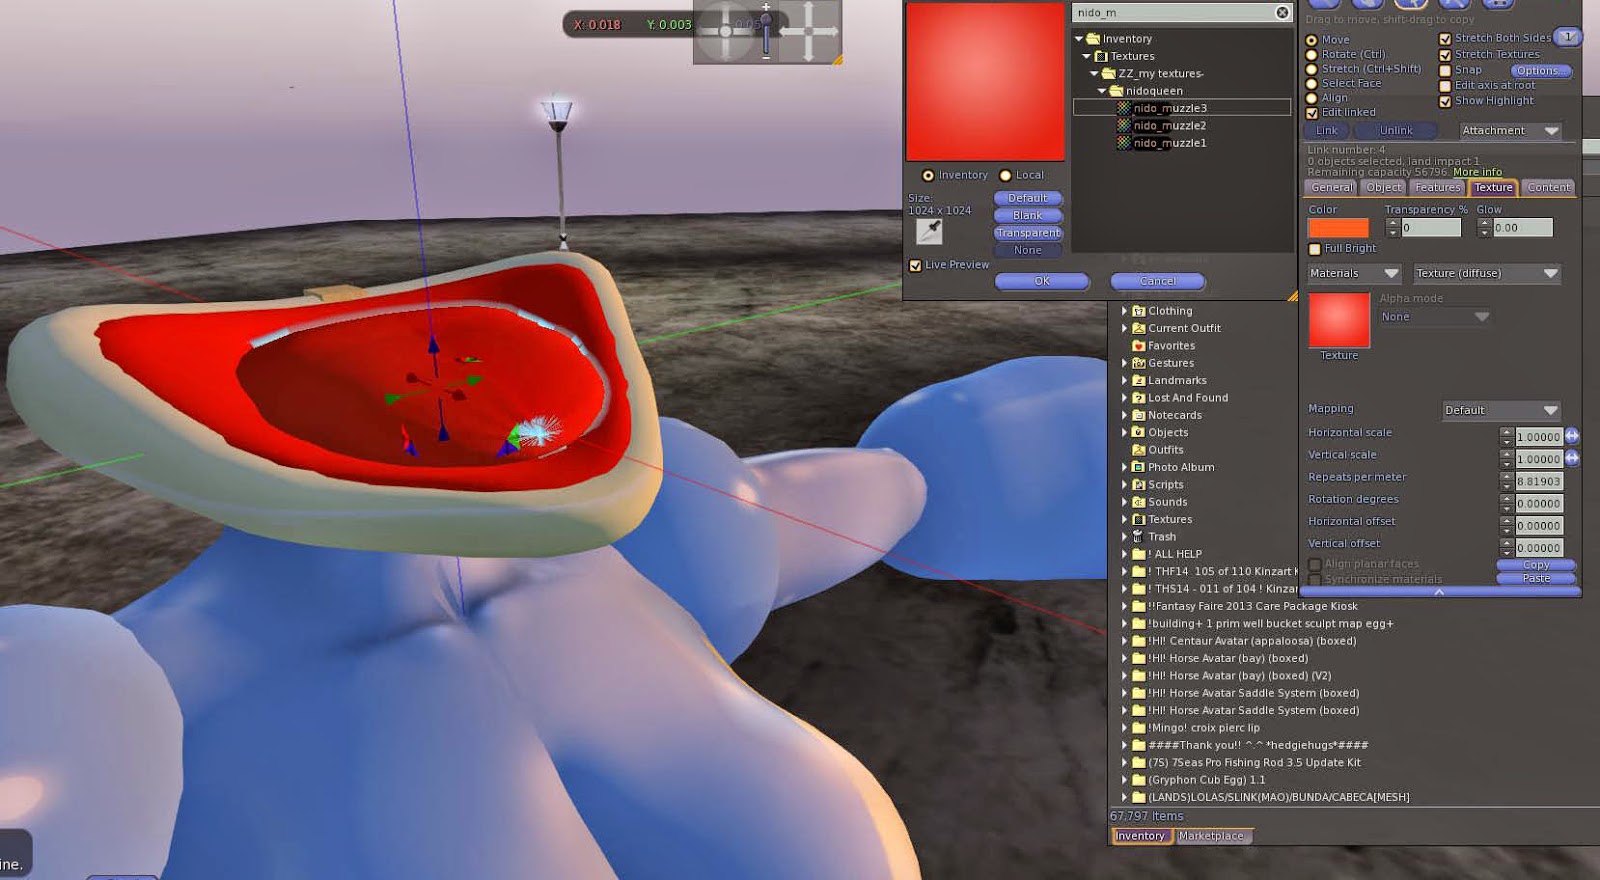 |
| yeaaaahh lots of textures here!! |
muzzle - nido_muzzle1
inside mouth_lower - nido_muzzle2
tongue - nido_muzzle3
mandibula inferior - nido_muzzle1
dentro da boca - nido_muzzle2
lingua - nido_muzzle3
**** - UPDATE: CHECK THE POST ABOUT PROPORTIONS - SMALL SIZE CHUBBY BODY.
http://slmod.blogspot.com.br/2017/01/nidoqueen-proportions-for-regular-sized.html - IN CASE YOU NEED, PLEASE ASK ME THE NOTECARD WITH THE PROPORTION OBJECTS AND SHAPE.
3- the spines (hard)
spikes - drop abdomen, chest and pelvis , edit linked part to separete the spikes fromt he rest of the body parts... you have to name them in order to not loose it in your inventory!
spike from abdomen - abdomen , spike from chest - chest, pelvis - pelvis.. when returning them, the pieces won´t go to the avatar´s folder they´re going to be placed in he OBJECTs FOLDER. . you have to move them manually. and wear.
atach chest - to chest
abdmonen to abdomen
and atach pelvis to pelvis ( tail is already on pelvis. but SL accept 2 atachments for each ataching part.
Edit them to place them correctly.
3- espinhos (dificil)
derrube abdomen, ches e pelvis e edite, separando os espinhos do resto. Renomeie os objecos de modo a ter novamente, abdomen, chest e pelvis.. quando você retorna-los ao inventário, notara que não foram para a pasta do seu avatar , mas para a pasta objetos. Vista-os em seguida, configurando:
chest - anexado ao peito /chest
abdomen - anexado ao abdomen,
pelvis - anexe à pelvis, note que a cauda ja está nesse ponto. mas hoje em dia o SL aceita mais de um anexo para os pontos do corpo.
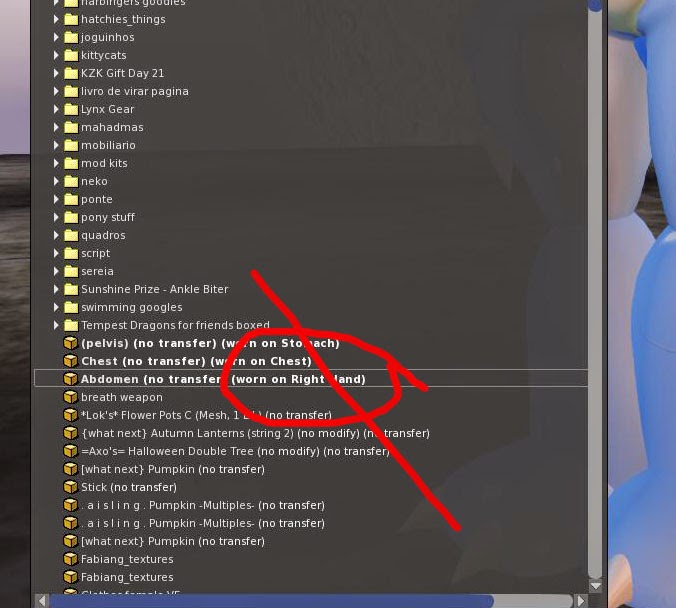 |
| remeber to atach the part into the correct position. |
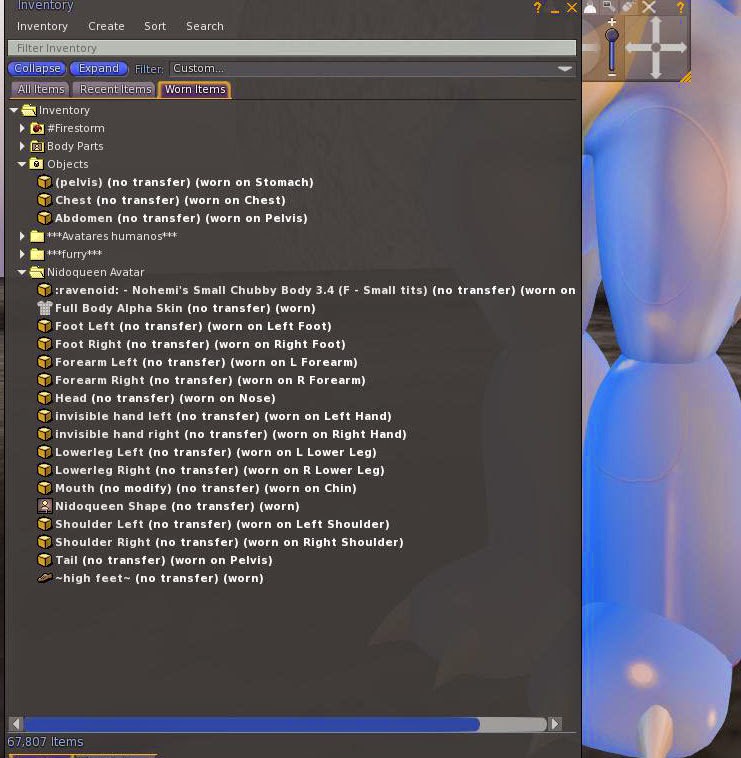 |
| move the parts back to the avatar folder. |
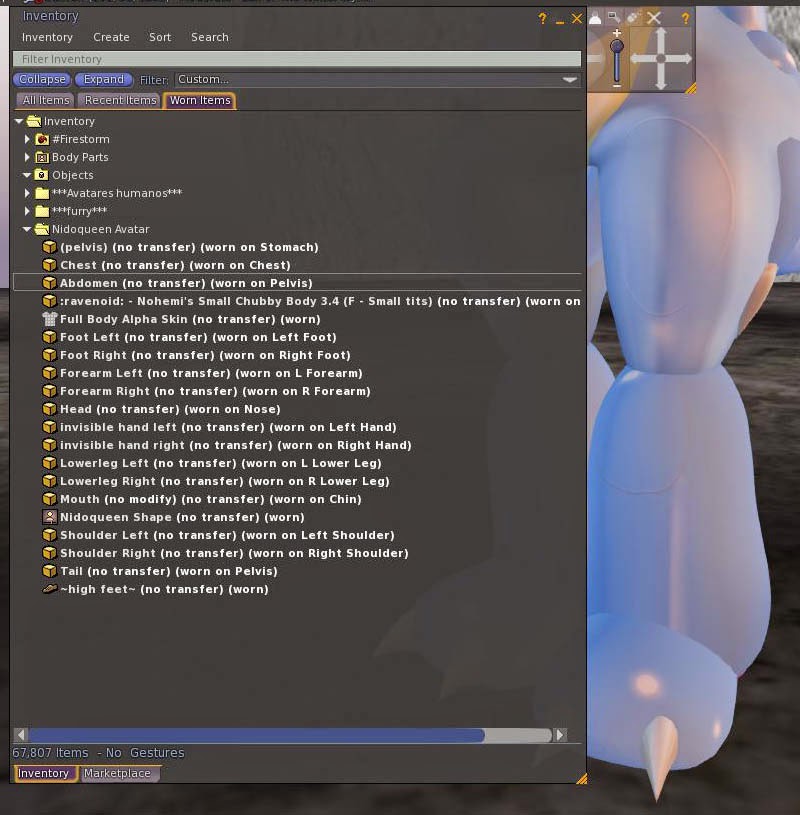 |
| we´re ready to continue. |
Textures
spikes - nido_texture2.
Texturas
Espinhos - nido_texture2.
Blinking head?
yeah, get the object from the notecard (BLINK)
drag it to the ground. press ctrl+alt+T to see invisible objects. Texture it using nido_texture2
edit the head and copy its position value.
edit the invisible blink object and paste head´s position value.. Make the necessary adjusments to make it fit perfectly covering the eyes when blinking (when visible).
edit the blink and than the hear and link them together (ctrl+L)
cabeça piscante?
yeah, pegue o objeto BLINK da notecard que vem junto com o kit.
arraste e derrube o objeto no chão. pressione ctrl+alt+T para ver objetos invisiveis. Texturize-o usando nido_texture2
Edite a cabeça novamente, e copie os valores de posição da cabeça. edite o objeto Blink e cole os valores de posição. ele ficará centralizado na cabeça, basta vc fazer os ajustes necessários para cobrir os olhos quando está visivel. - Selecione o Blink e depois ca cabeçe e junte-os. (ctrl+L)
Remeber to add shininess to all parts or take it away from ravenoid´s body.
in case you want to add, edit parts, go to chininess area, add blank texture to the shininess map and the values 20 - 0
Lembre-se de adicionar brilho ou tirar o brilho do corpo para ter partes harmonizas.
no caso de adicionar brilho a tudo, selecione o objeto use textura blank para mapa de brilho e os valores 20 e 0.
Enjoy!!! :D if you have any problem , dont hesitate to contact me.


