Hi everyone! Today´s mod is a Whale Shark based on Ravenoid´s chubby body, aventity´s shark (any species), and [TB] tail and fin customization kit, because its tail movement.. Anyway, you can find a few textures for aventity´s parts in case you´re not interested in tails movement.
**********************************************************************************************************************
THIS GUIDE WORKS FOR BOTH, RAVENOID´S CHUBBY BODY ( ANY) AND [uL] CLOVEN HOOVED BODY (FEMBOY OR FEMALE WITHOUT HOOVEN)
**********************************************************************************************************************
Modding/Editing skill required: Medium/ high (don´t be afraid ill try to be very specific and provide pictures for a better understanding)
1) - get the parts and open boxes, choose the body you like best. ( Again: This guide works either for eny of Ravenoid´s chubby body - big or small and [UL] clover body, fem or femboy without hooves.)
BTW - for this guide i am using the BIG ravenoid´s chubby ´s, so there may have steps you won´t need for the small body nor for UL´s body.
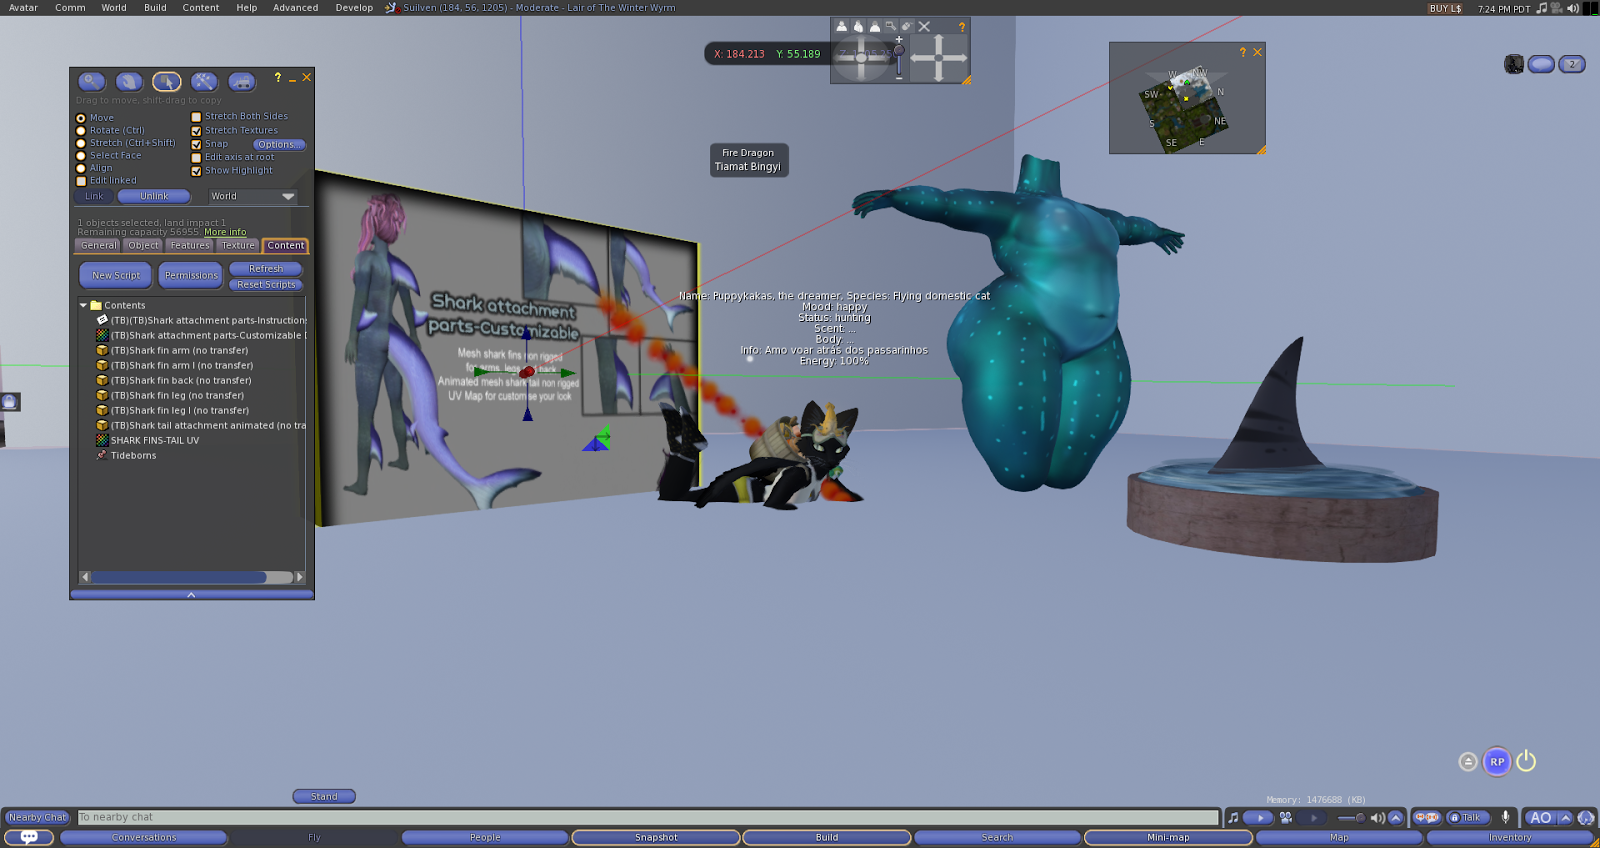 |
| You may need about 1 hour or less.. i havent watched for it. sorry. |
Unpack all, i usually put everything together in a same folder in order to build the mod and keep things organized. Unfortunately i am not used to SL looks procedure. See the subtitles for picture´s better understanding.
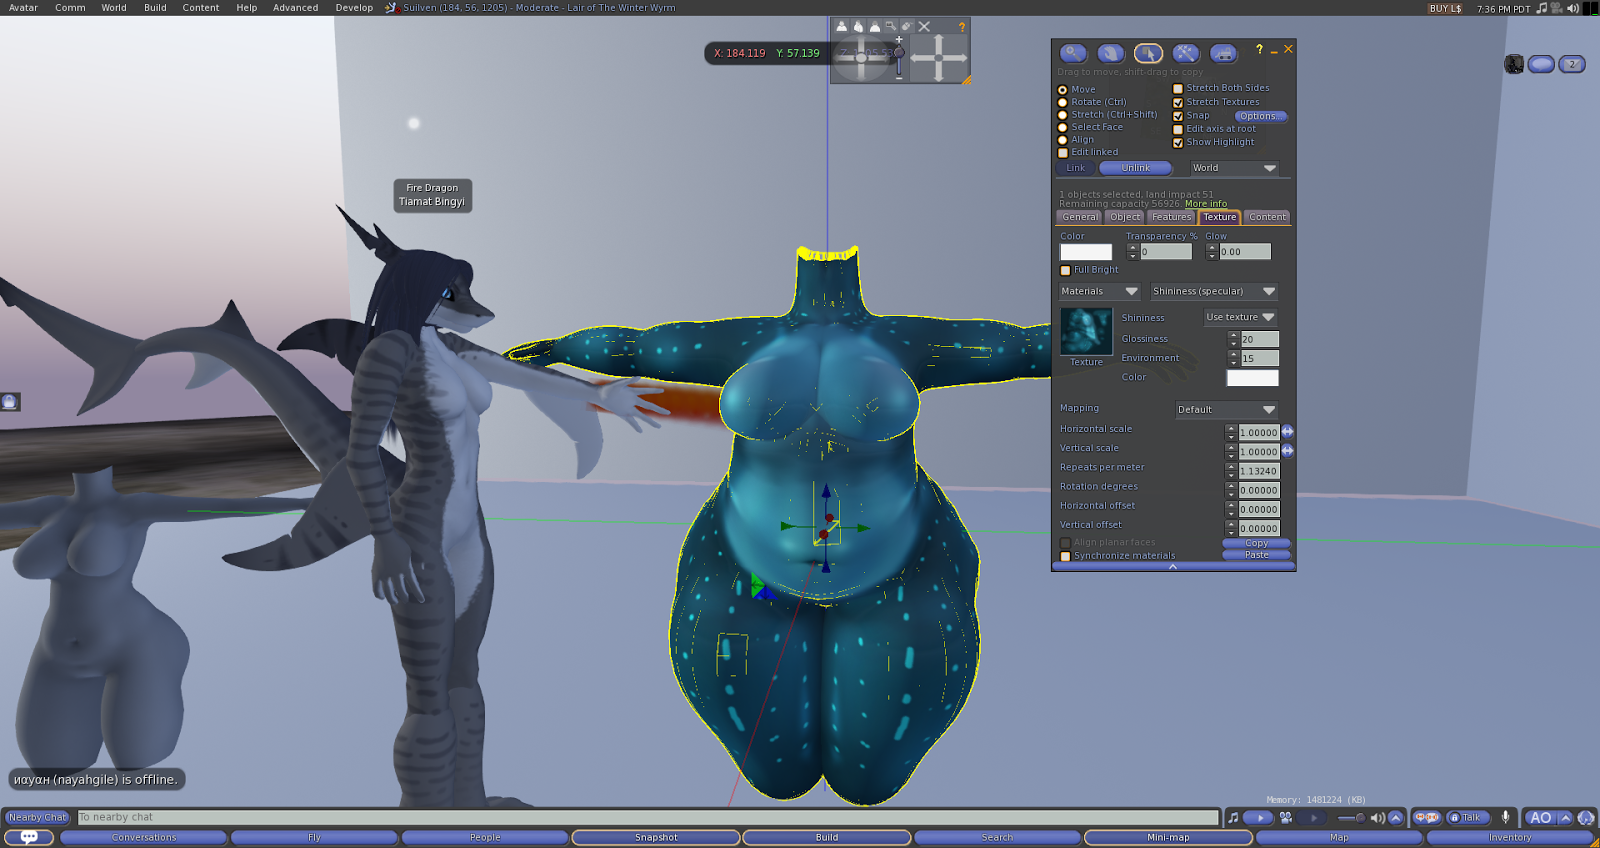 |
| get a body of your choice - in this case i am using BIG ravenoid´s body, well because whale shark is a big fish, huh :) ? |
 |
In case you´re working the UL Clover body, choose one. There are steps in this guide you may not use., like head adjustments,
Prefer using Aventity´s default shape to keep eyes, muzzle and head in the same place. After finishing your mod you can resize it. |
Ok, wear the body. ***NEXT STEPS ARE JUST IN CASE YOUR AVATAR´S HEAD PIECES GET OUT OF PLACE. - ELSE YOU CAN JUMP THIS PART AND GO TO - 2***
So, then your head parts are misplaced, right? You are using the BIG avatar, and you have to attach eyes to your head, unfortunately they´re not going to move properly with a deformed shape.
 |
| oh my head!!! OMG what hapened? D: |
Drop your avatar head and eyes to the ground.
Edit linked parts and choose heads eye lid, or lens, .. it doesn´t have a name, but its a small object which is usually placed in front og the eyeballs,
and copy its position value.
 |
| to the ground nao! Edit linked parts and choose hed´s eye lid or eye lens, Its a small object which usually is placed witht the eye balls to give a shine and reflexive look. |
 |
| Copy eye transluscent object position value (its the small C next to position values) |
Now, remember to select the whole eye (yeah.. i´ve selected the eye as linked parts a few times... ),
the side corresponding to the object whose position was copied and paste the position (the small P into object´s tab position values)
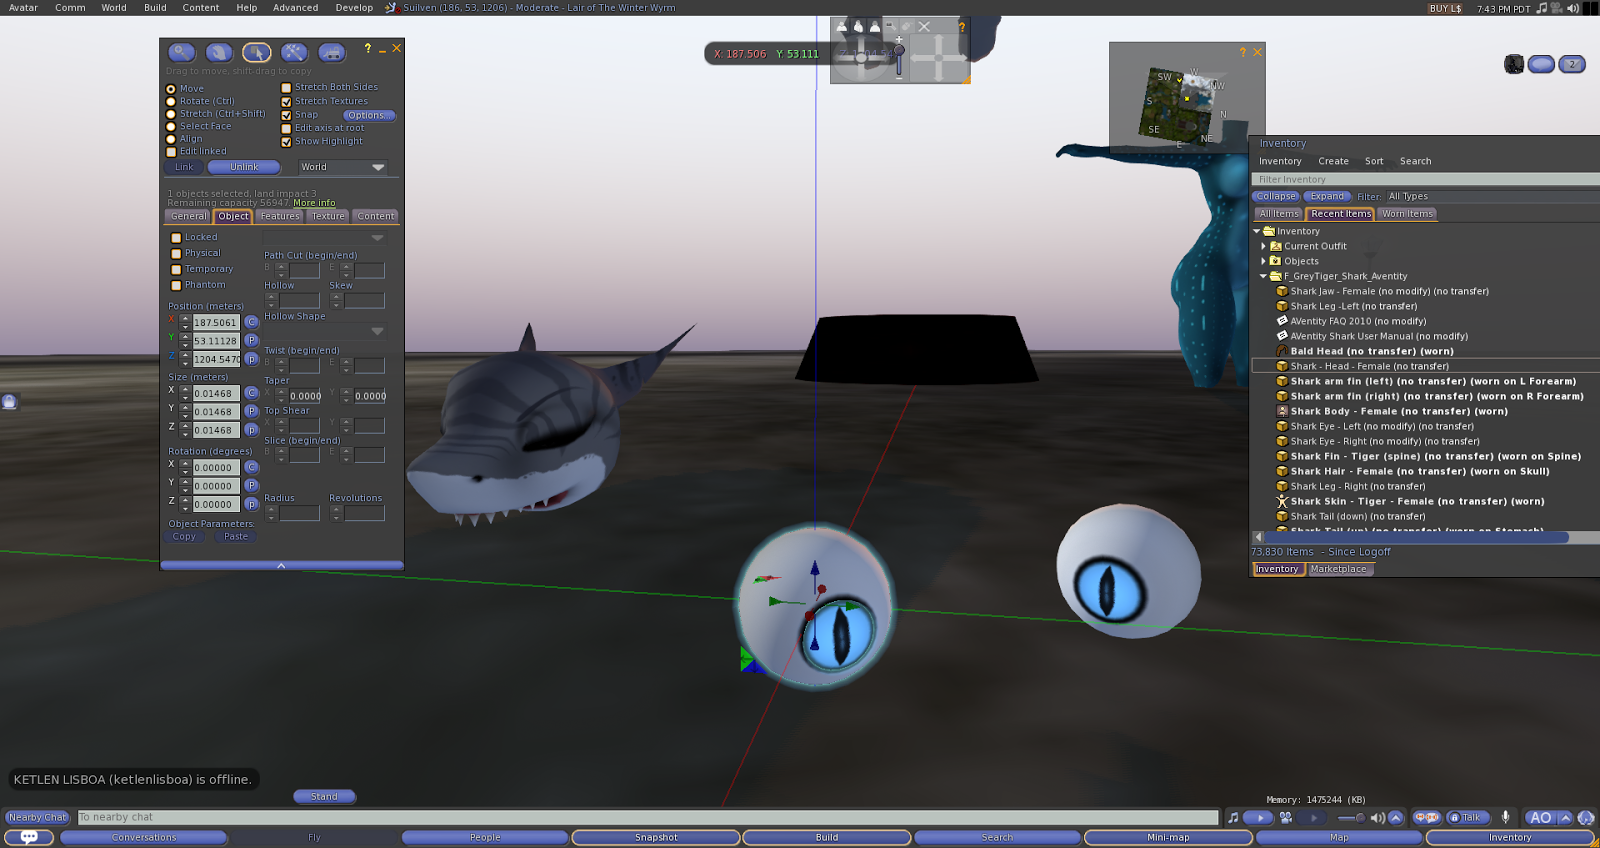 |
| select the corresponding eye, open again the position tab and paste the position value. |
 |
| Voilá! Placed, woot! sometimes you may need to rotate the eye to get the precise look position. |
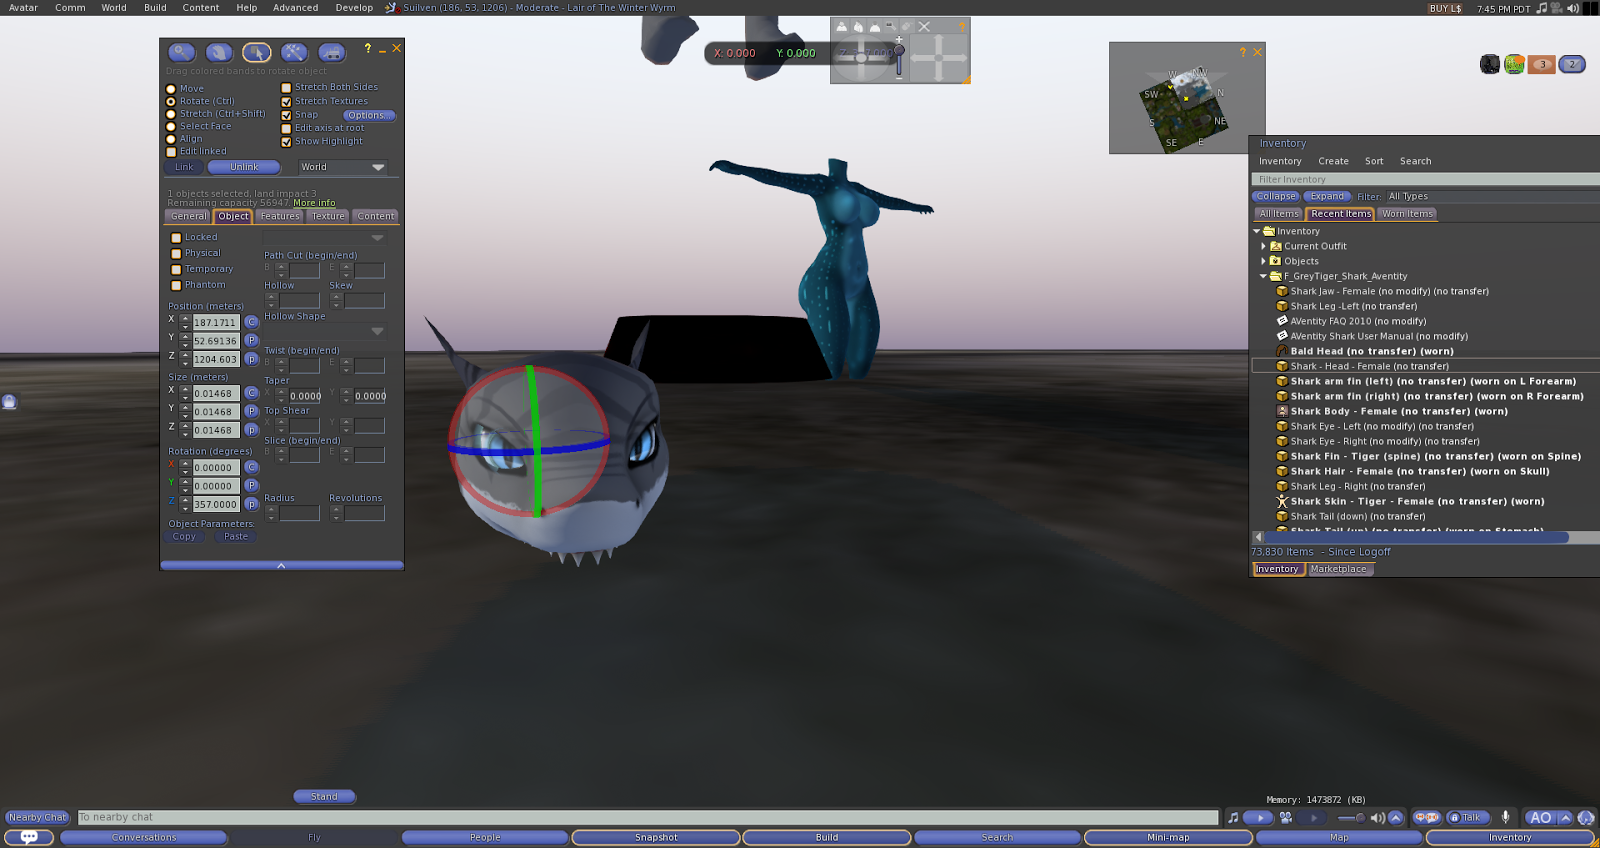 |
| Repeat steps for the other eye.rotate it to a nice looking if needed. |
Once you have the correct eyes and head position, select everything and link together.
IMPORTANT!!! remember to link last the head as root prim - else when wearing it won´t be placed correctly.
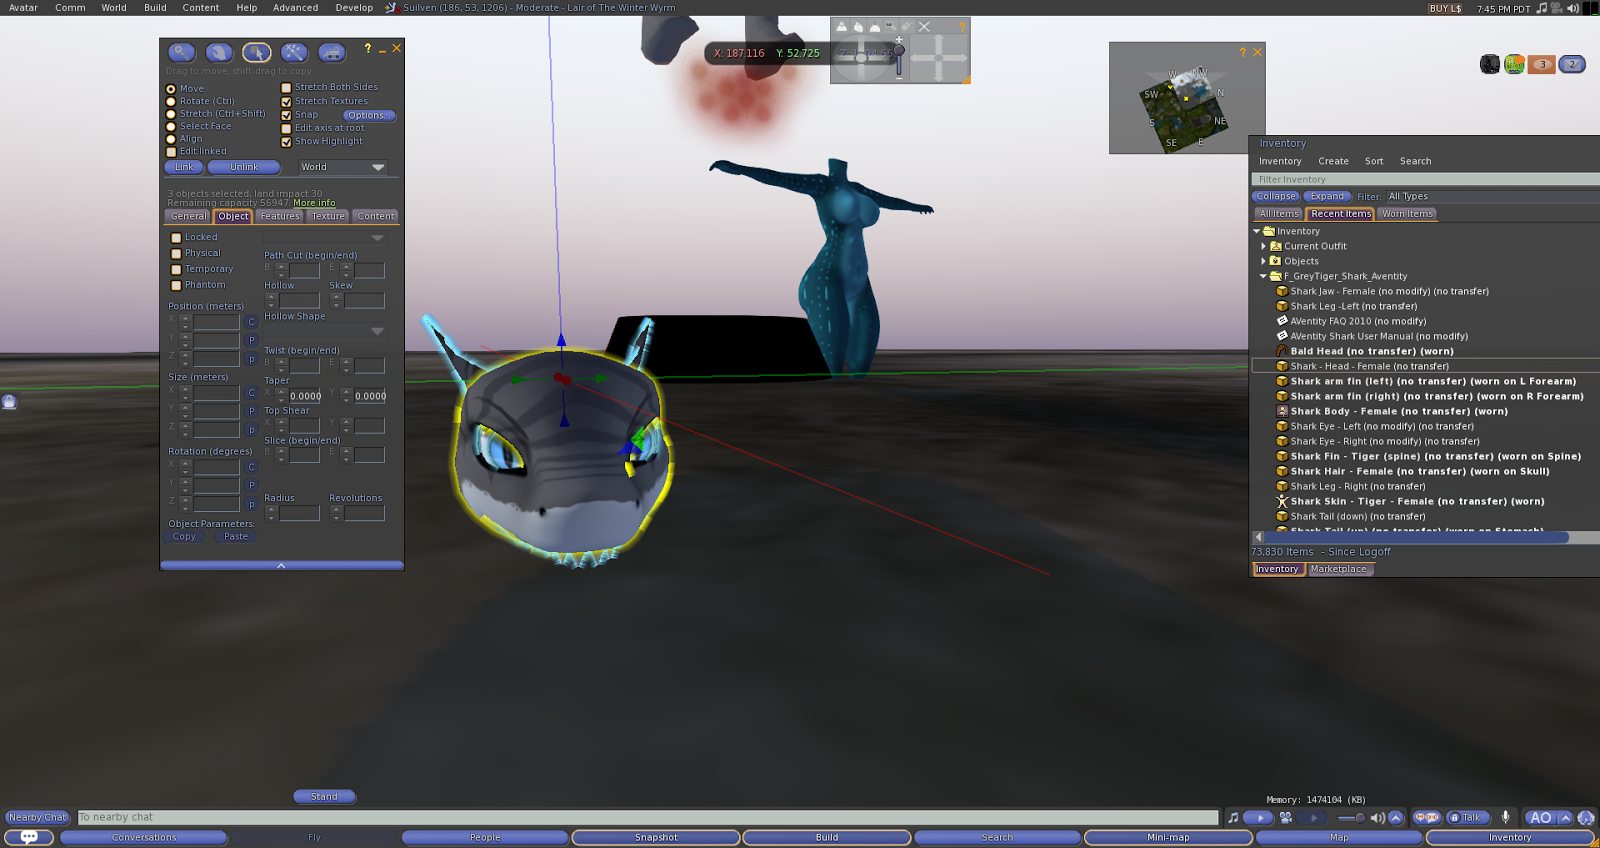 |
| Remember to link last the head as root object. - Root prim is usually highlighted in yellow. |
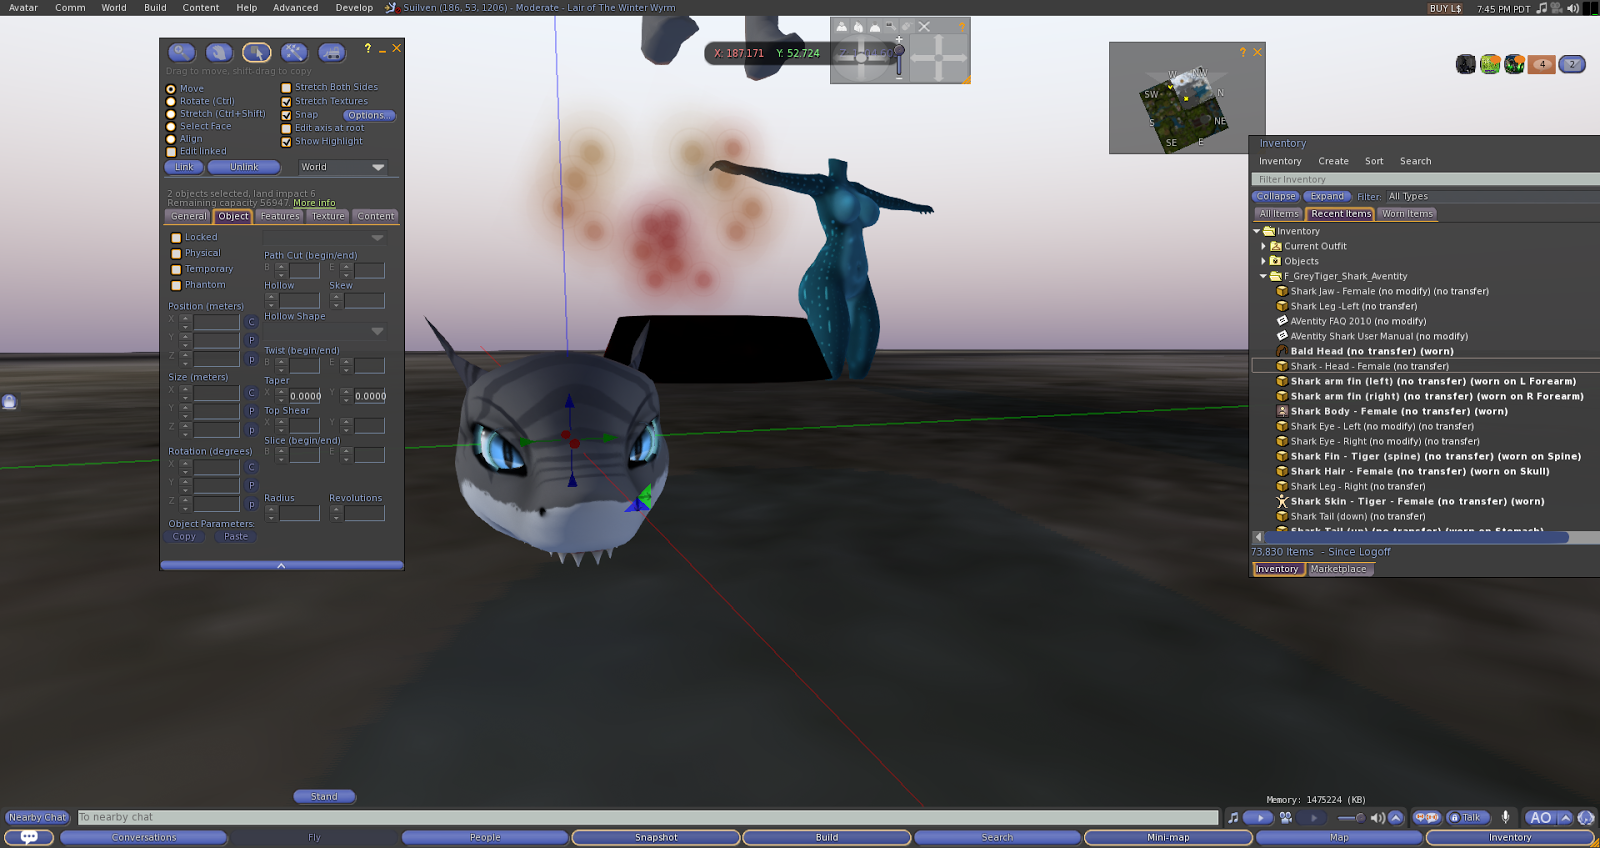 |
| Yay. single object. the eyes wont move anymore for big avatars, sadly |
Wear Head and jaw parts (hair as well if you prefer), and risize them together.,
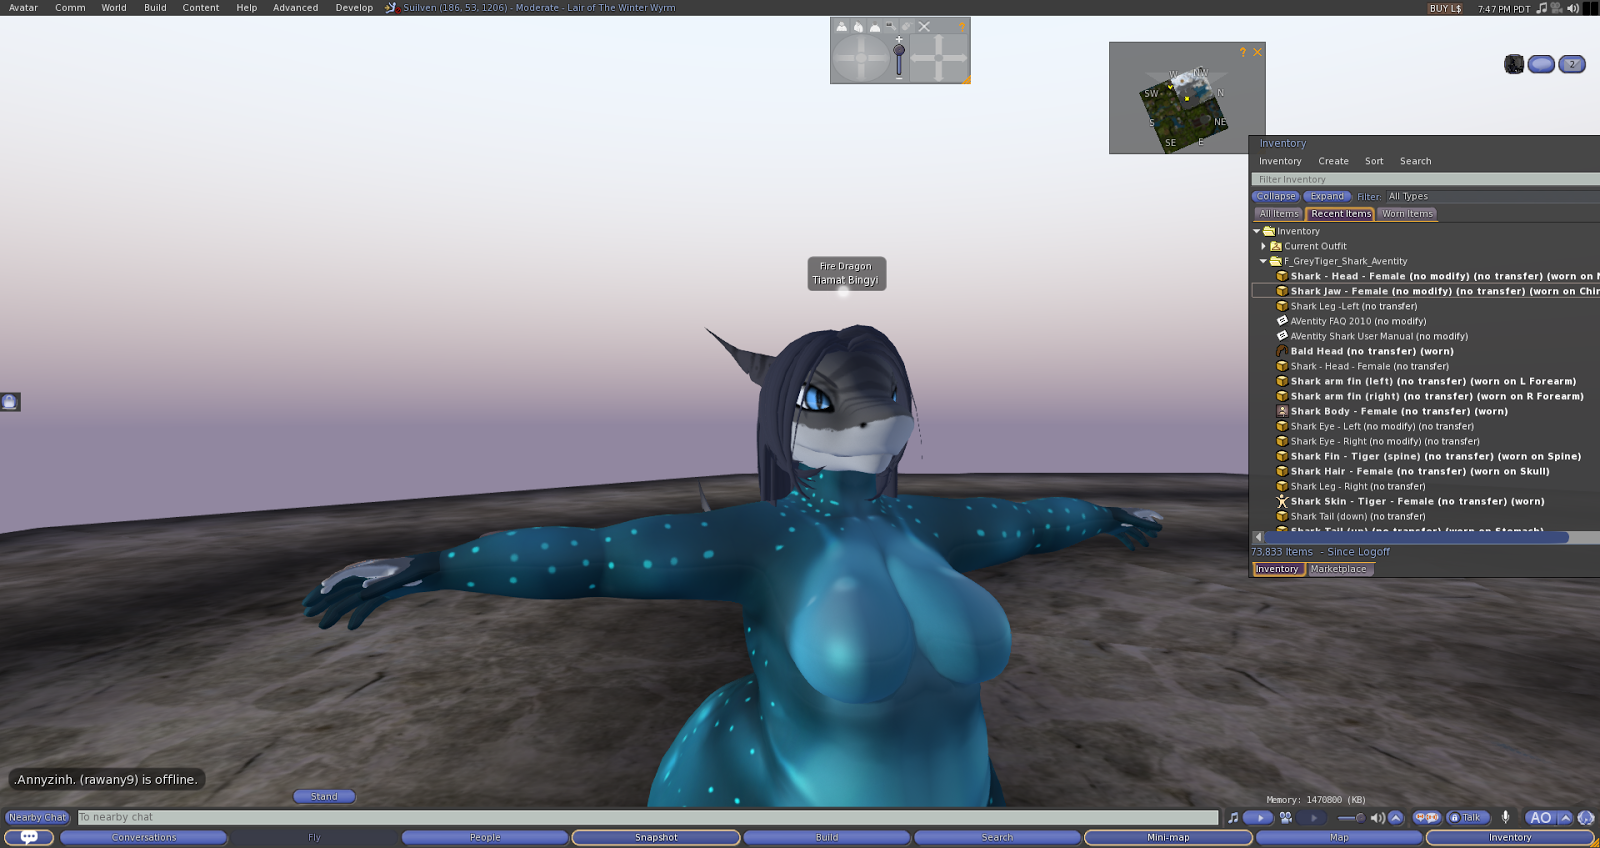 |
| la la la la..... |
2) -Resize Job! :D Once you have the body it´s now time to resize and replace parts. You may see my original shape on the picture, Im not using the alpha layer, yet.
 |
| Resize parts if you want to use Aventity´s parts. |
** If you are using this guide for UL Clover Body, remember to use the aventity´s lower leg and feet for your mod. I´ve used Eel´s lower leg with a very nice result. You can try changing your mod as well. I belive the texture works for more lower legs (at least aventity avatars)
 |
| Again, this is just for Ravenoid´s. Fat dragon legs for lower leg. There´s a texture for it inside the kit. |
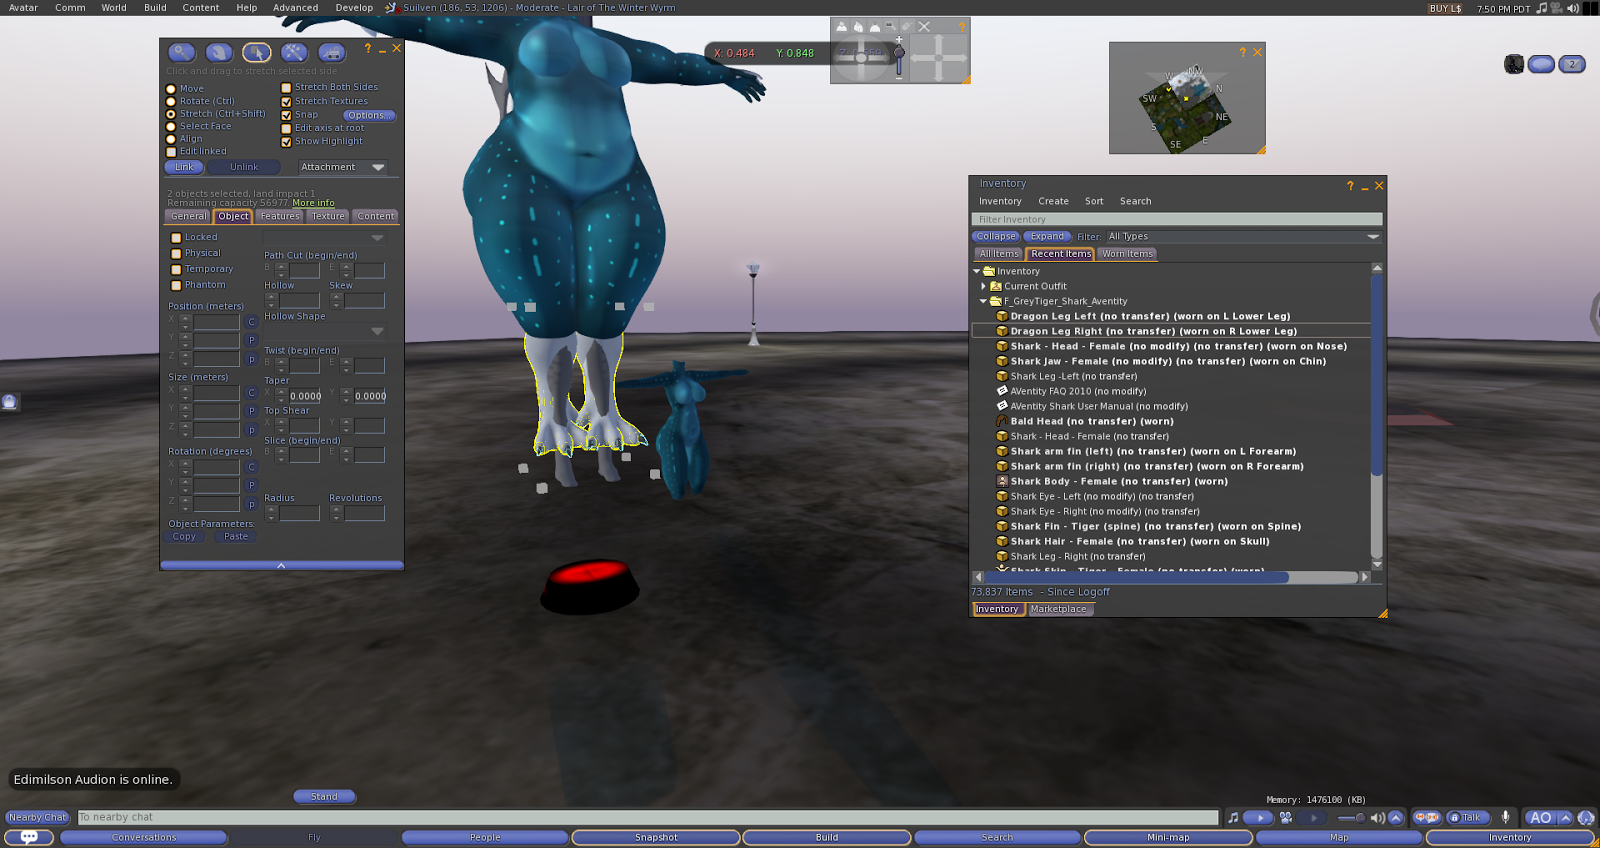 |
| Since i am using a big avatar, riseze job is required. |
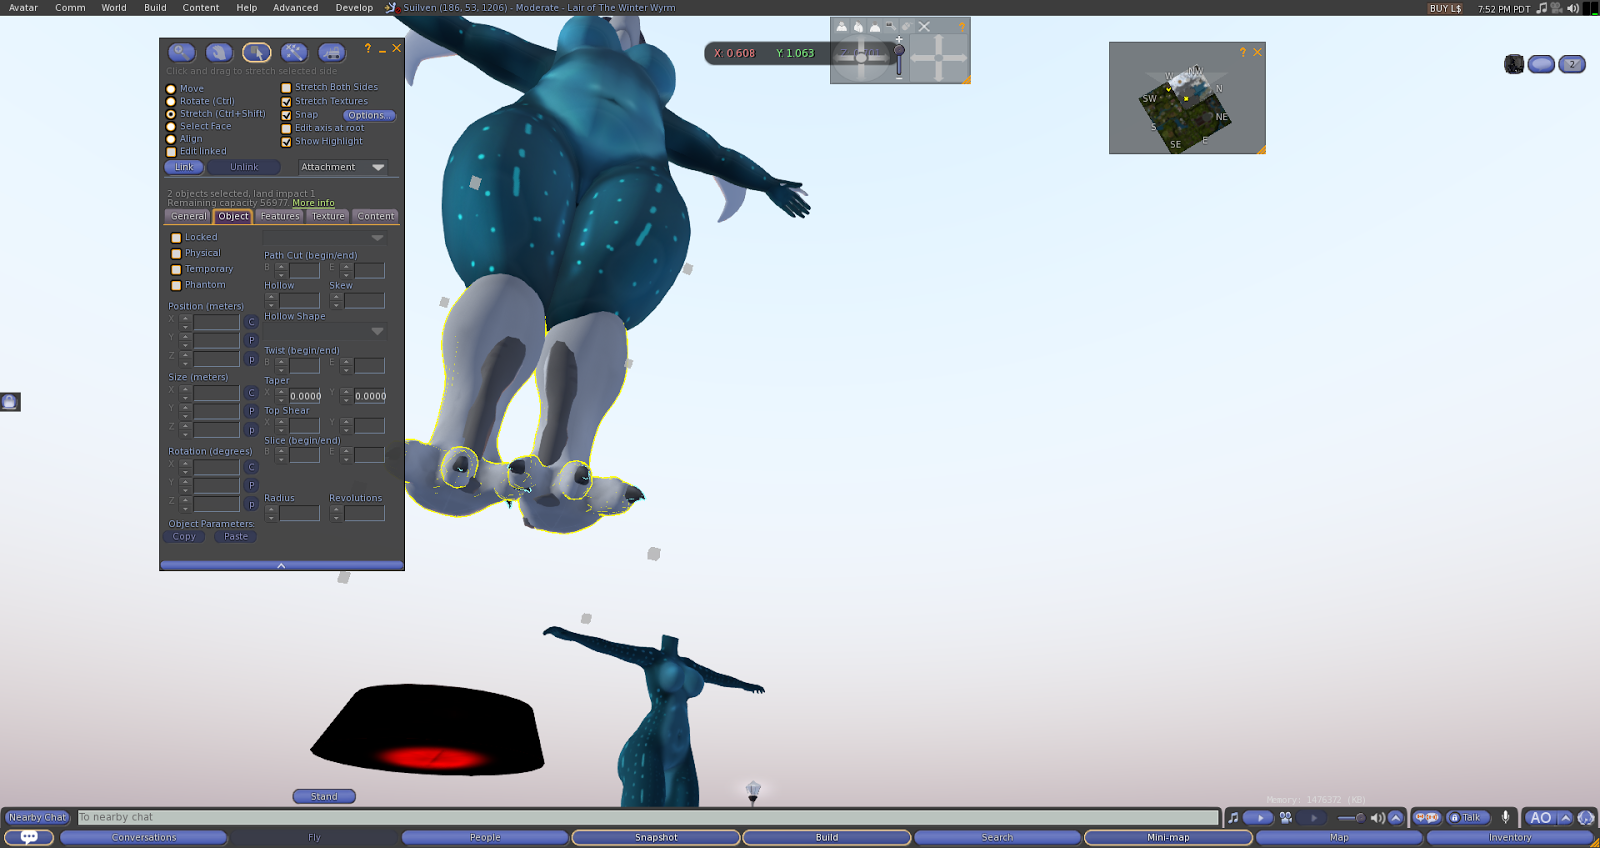 |
| and that´s why i dont wear the alpha layer... to get the correct parts position. |
3) Texturizing Job!! :D Woot!
Remember to use edit linked parts, else you´re gonna paint nails too. D:
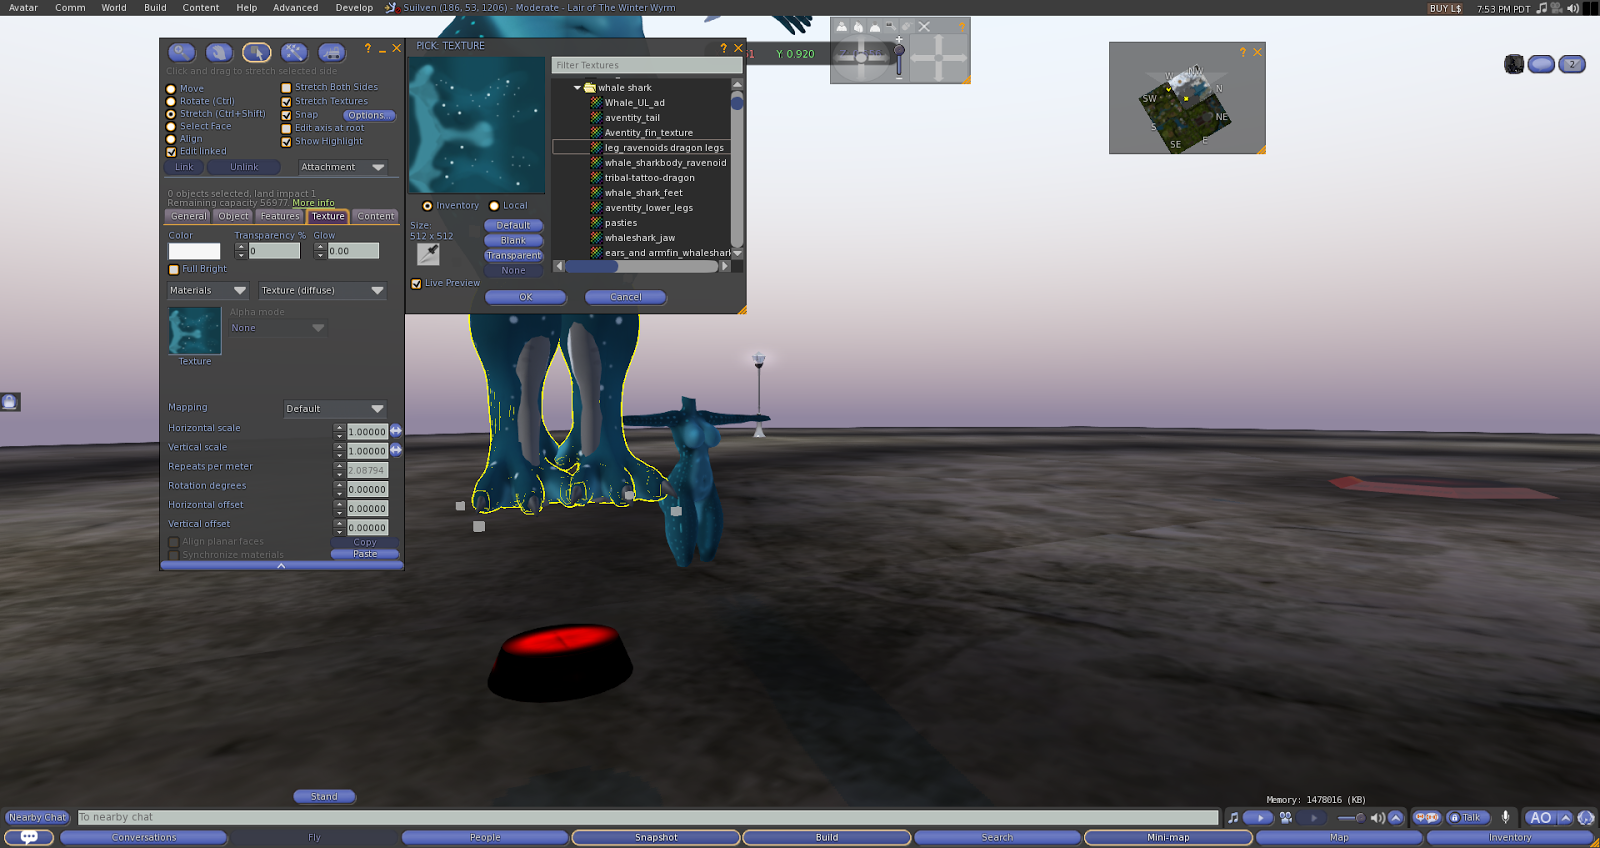 |
| for fat dragon legs, use: Leg _Ravenoids dragon legs |
OPTION: Using Aventity´s original parts:
Tail - Aventity tail texture for main piece, aventity fin texture for small tail´s fins.
Fin - aventity fin texture.
armfins - ear_and_armfins texture. (yeah..same texture for ears and aventity´s arm fins)
Remember to use edit linked parts.
 |
| i guess i have even used whale shark _feet texture for tail´s tiny lower fin. |
Change tail and fins for TB shark parts. [TB] SHARK FINS-TAIL_texture on all of them.
drag and drop onto the parts.
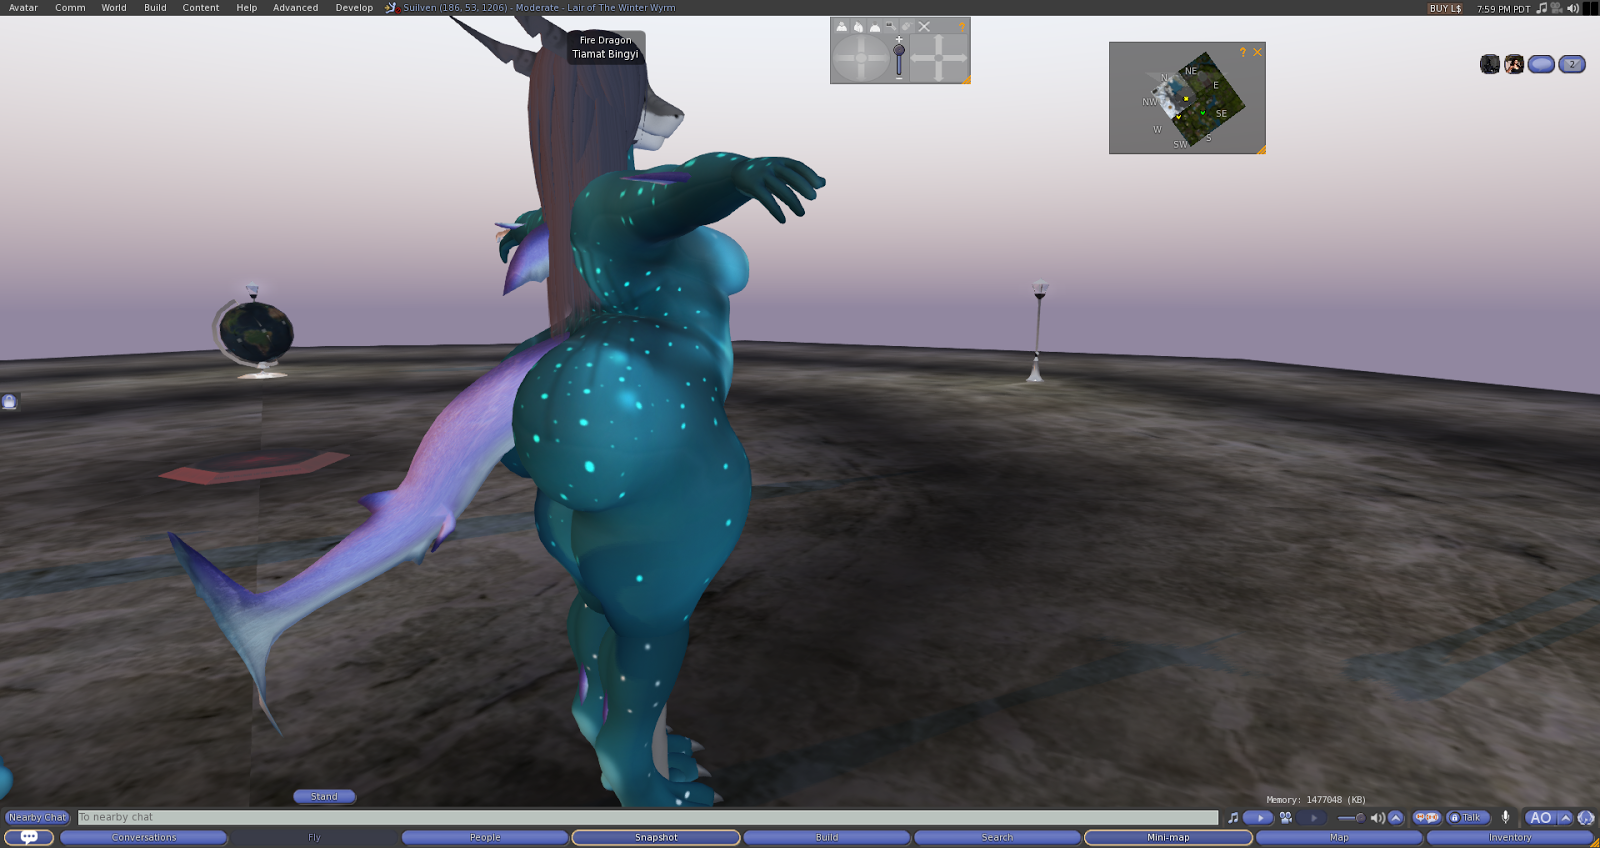 |
| sometimes SL or viewer act weird so you may need to drop parts on ground and edit parts |
Resize and place TB parts, they´re nor rigged, you can easily move them.
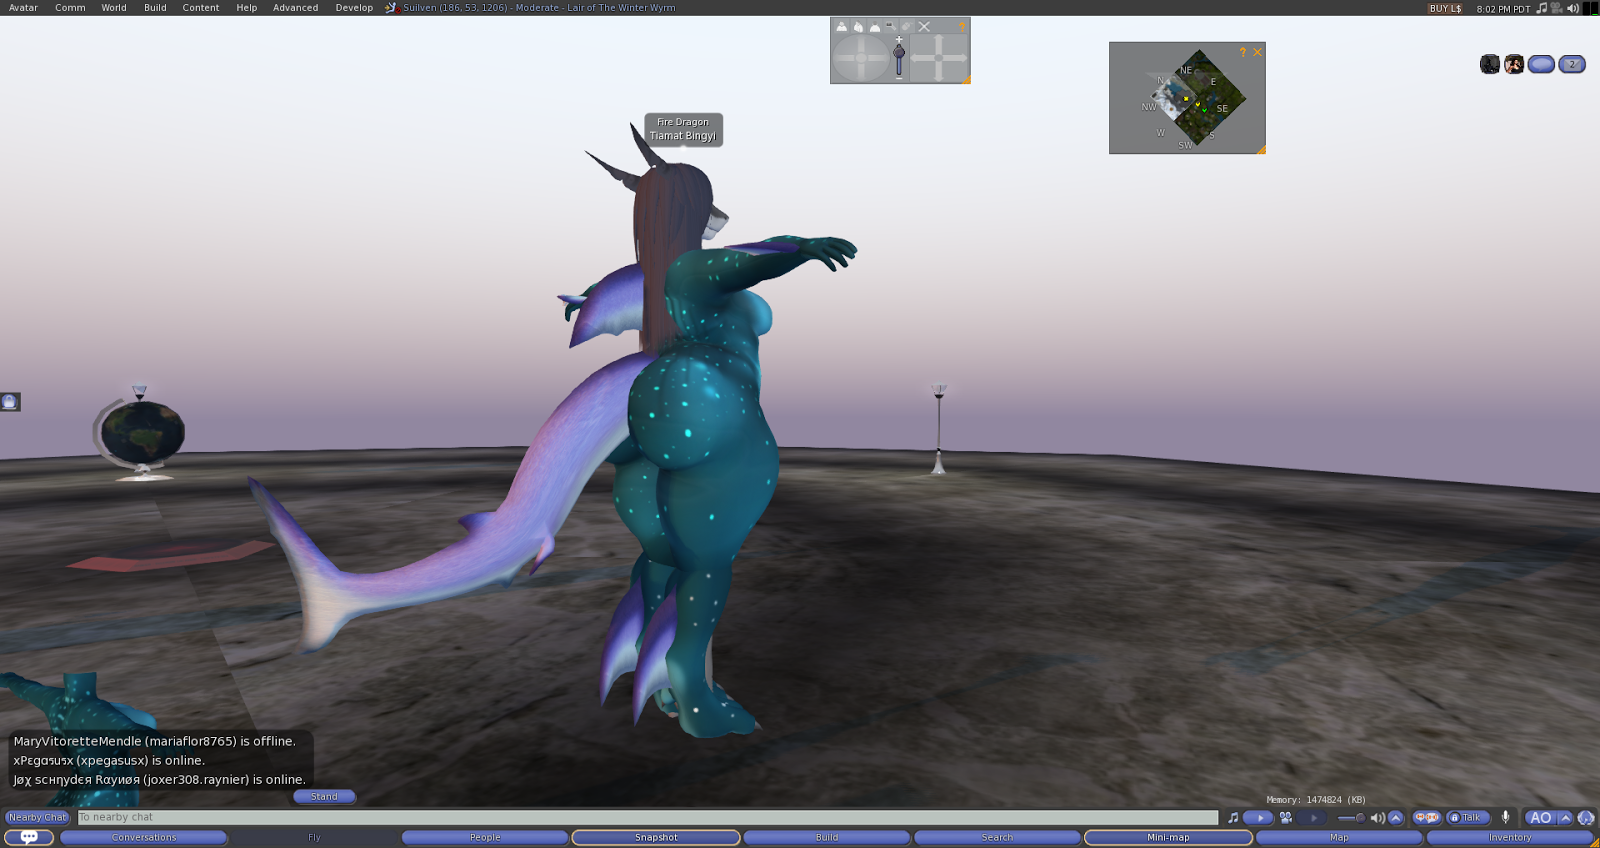 |
| la la la....fishy fishy fishy.. |
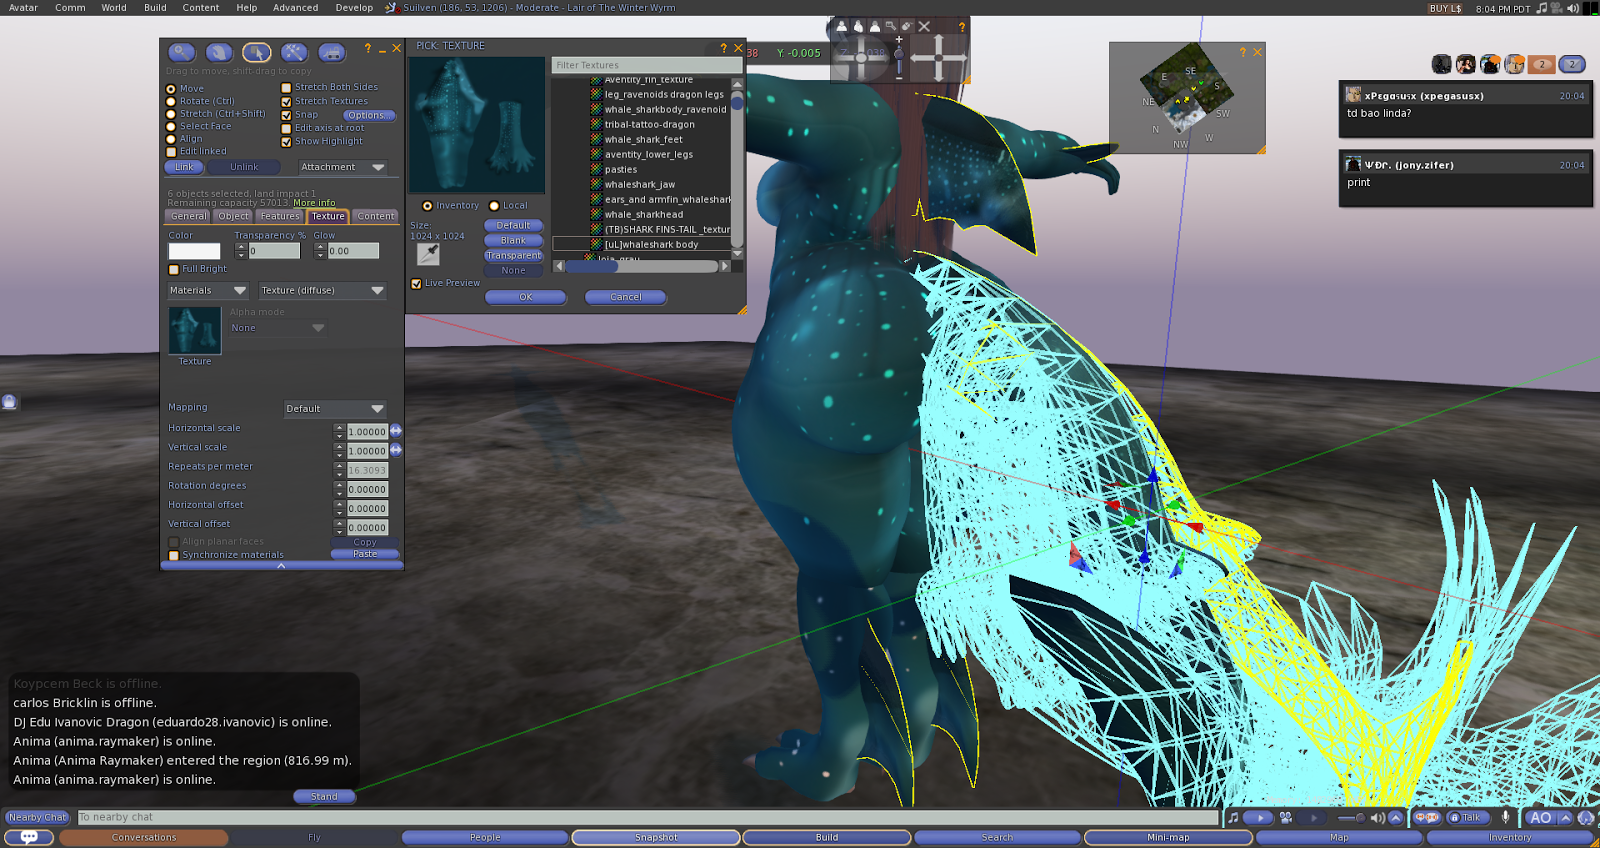 |
| easy job. drop texture onto parts. select them together. (correction - silly picture, im selecting the body´s texture, remeber to use [TB] SHARK FIN-TAIL texture. |
Head: Select Linked parts, muzzle, and add whaleshark_jaw Texture.
 |
| whaleshark_jaw for muzzle. |
add whal_sharkhead texture for head and ears and armfins texture for ears
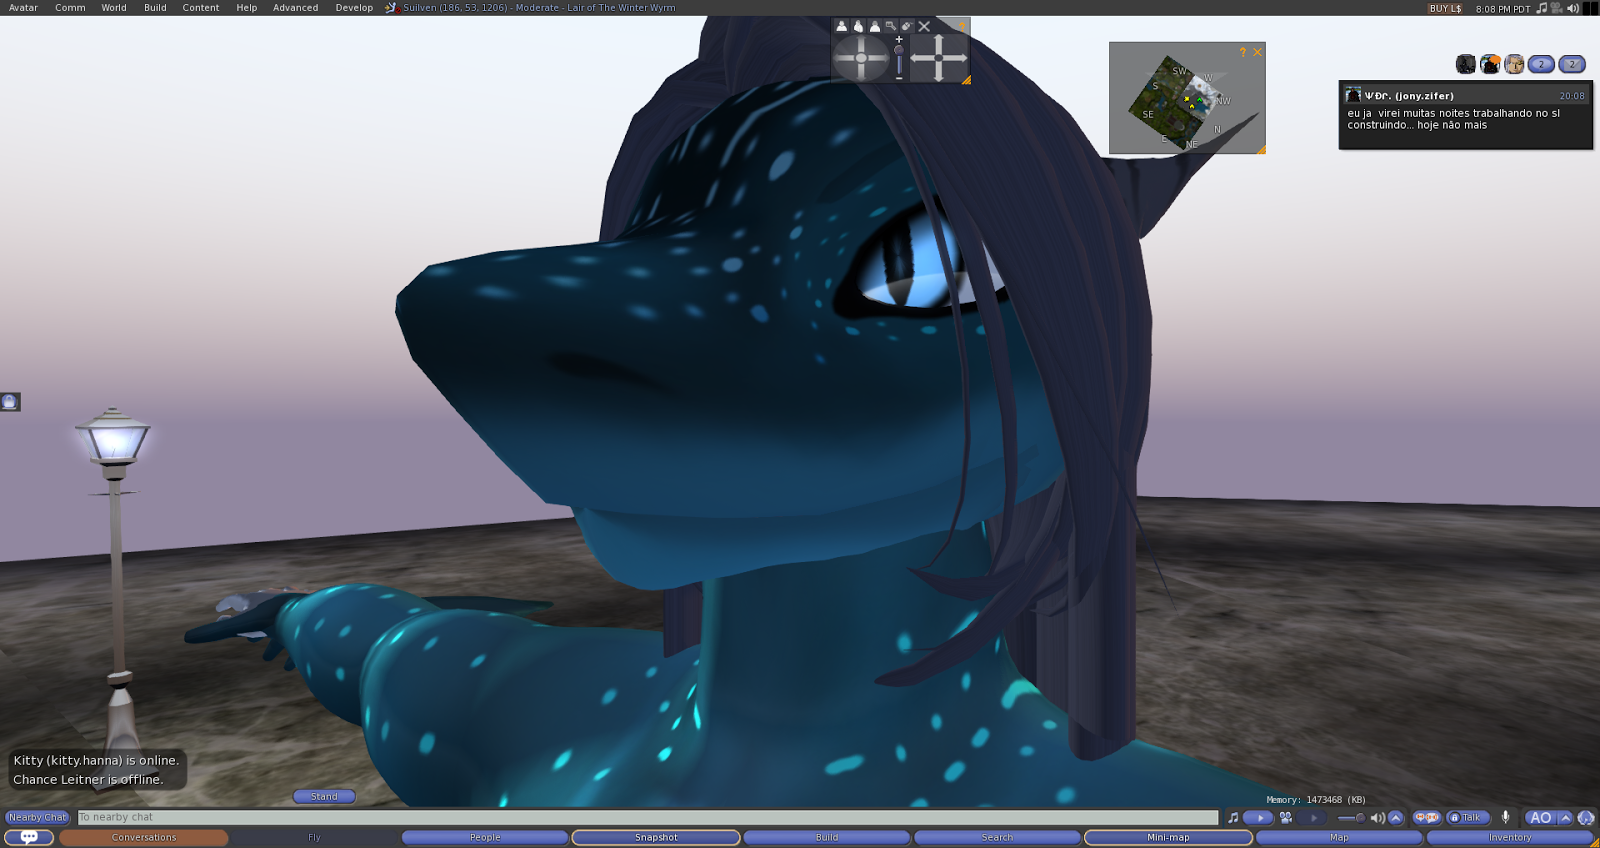 |
| hmmm spots everywhere. |
4) IMPORTANT FOR BETTER RESULTS -
Last, but not the last: on high graphics you may note a difference on parts shininess and even bump for TB parts.
You may keep off TB parts Bump. Select parts, ON texture tab you can change from texture to shinines and bumpiness, on bumpiness choose none.
For shinines, you can keep the texture TB provided or chance to the same tail texture used to texture the tail and all parts. shinines texture value box i´ve added a light blue , 30, 15 - same for all avatar´s parts.
Repeat step for ravenoid´s body , fat dragon feet part and aventity´s head (and parts in case you´re using them). As final result you may see a mod smothy and fine with all parts fiting nicely together.
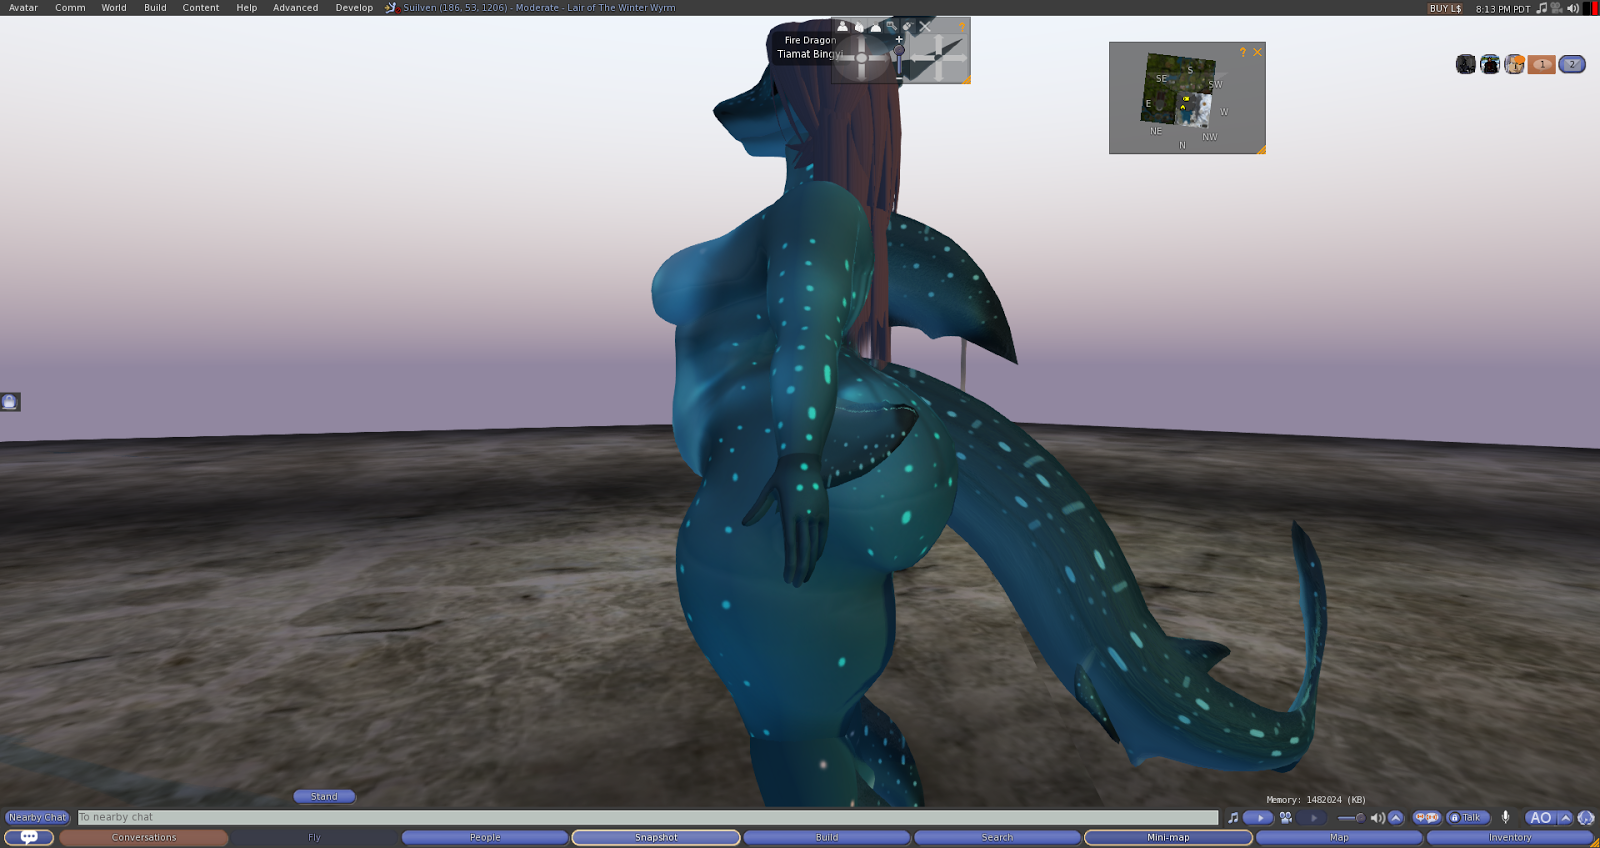 |
| everything fiting nicely as one single unique avatar. |
Thanks for following and purchasing my products, Hope you enjoy your mod and avatar! :D
Happy modding!


