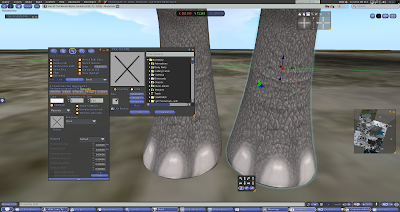
Ready to start your very own elephant mod?
I: Required parts:
- Ravenoid Chubby body ( either sizes), any gender
- Ravenoid: elephant parts
- Chinchilla avatar ( head and muzzle) or Viss Bunny ( head and muzzle). I have done textures for both kind of avatars
- Little Poney Free avatar from Aventity
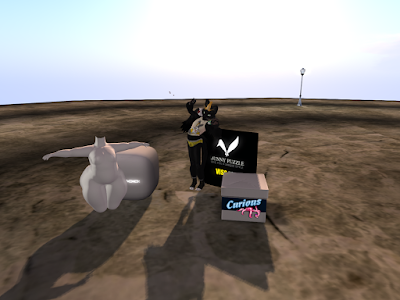 |
| mmmmm Boxes, lots of boxes <3 |
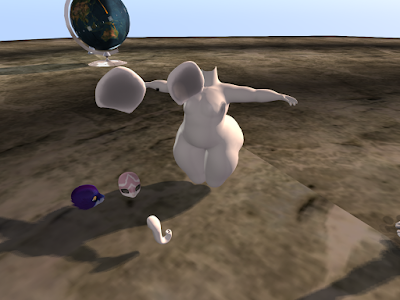 |
| Drop the parts you´re going to work |
This tutorial work for either avatars, and firstly for regular chubby body size:
Pay attention, there are normal and espcular maps and lots of small pieces.
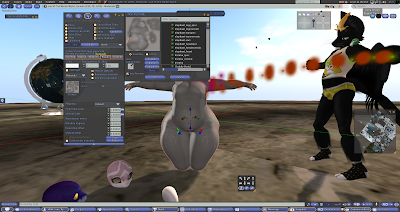 |
| as previously show, start texturizing parts, remember to use linked parts when you have linked pieces to texturize and different textures for each. |
body, Trunk and ears are quite easy, just edit and drop textures on each.
For head im showing first bunny Viss. Eyelids and eyelashes should be moved in order to make things easied to edit.
There´s an extra face on head object, where viss face expressions go. you might want leave it as well.. select skull part and add the texture. If you press ctrl+alt+T you´re going to see the extra face in the avatar´s face.
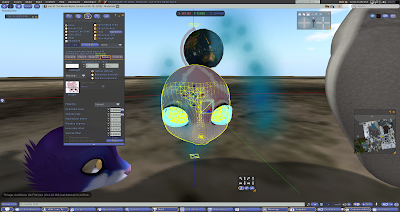 |
| viss bunny head |
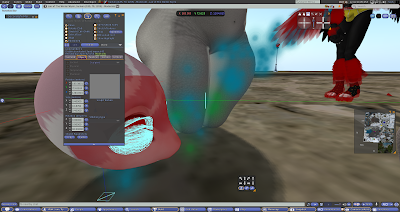 |
| press ctrl+alt+T to see invible parts |
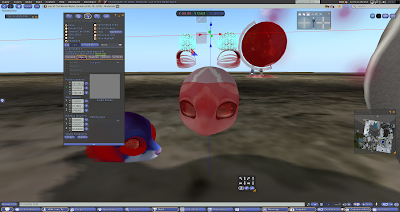 |
| edit linked parts to move eyelids and eyelashes objects away from head. copy their initial position in order to place them righ back where they were, after texture job. |
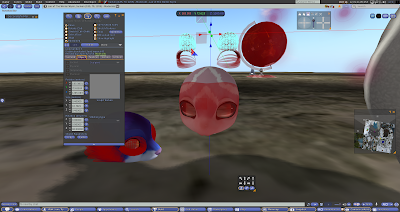 |
| i usually use a notecard to not loose the values, after this edit the skull ( linked part) and add head texture. |
Once you have the head and eyelid with elephant texture, press thebumpiness tab and start adding the normal textures. Those are going to make the parts look rough, as elephant skin. If you dont want to add them its all good. the regular textures have a wrinkled design.
IMPORTANT: bumpiness and shininess are only visible with SL graphics on high or above (you can change in the preferences window)
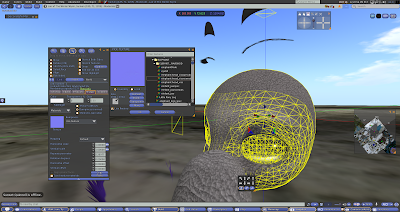 |
| after textures, go to bumpiness tab and start adding the normal maps to the pieces. |
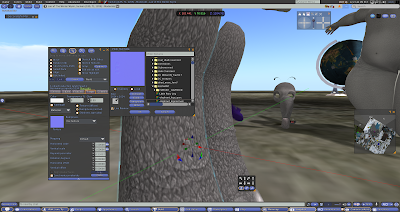 |
| repeat the process to al parts. |
Once you have all parts with their normal maps, press the shininess tab and add Specular maps to the parts. this also just work with Graphics on high or above.
Specular gives a shiny aspect to the textures and reinforce the wrinkles effect.
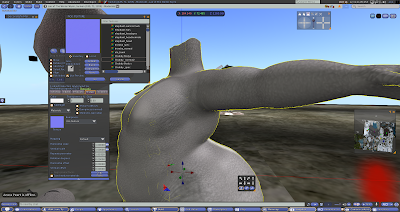 |
| adding normal maps |
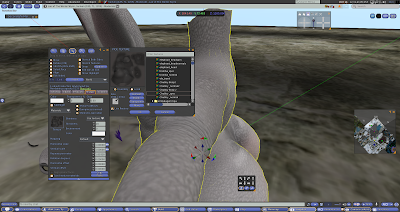 |
| adding the specular maps, the object gains a more wrinkled aspect |
The speculpar maps on shininess tab also have sliders to determine how shiny you want your texture...
you´re free to try it. for my mod i added 80 and 15 for values and a dark green colors. just for fun. Remember to repeat the process to all parts, else the different shininess values might compromise the beauty of your avatar.
II :FOR CHINCHILLA HEAD TEXTURE WORK:
Basically the same thing. select eyelashes objects and move away from head.
in order to help you with the job.
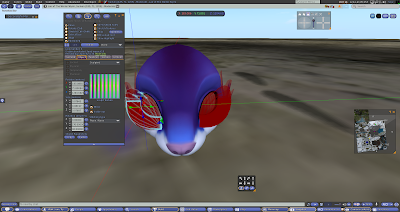 |
| press ctrl+alt+T to see eyelashes better and move them away from head pieces. |
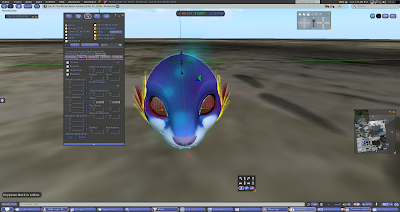 |
| select the cheeck fur , detach them from head. you wont need it. select both sidecheek pieces and press ctrl+shift+L |
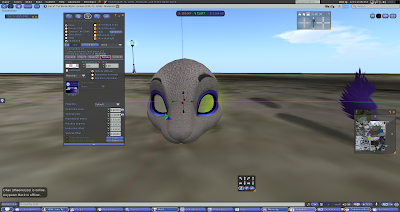 |
add the texture.. there are skull, left and right snoput sides and eyes object. do not forget to select them,
Repeat process for normal and specular maps too. |
III: shape!
YEah!!!! the eyes!! always them! What should you do? wear chinchilla´s shape ( for chinchilla´s head) or Viss shape ( for Bunny Viss head), to avoid popping and bugged eyes. THIS PROCEDURE just works for regular size mod. for Big chubby mod you are going to have to link eyes to head piece, and resize them to fit on the big body.
PLEASE CHECK http://slmod.blogspot.com.br/2015/04/big-fish.html , the second part of the Blog post, for a tutorial for big bodies mod and linking eyes to heads.
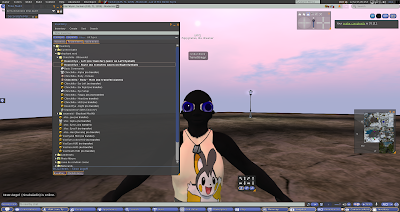 |
| wear the avatar´s shape , pwear eyes and texturized head |
 |
| this example im using the chinchilla´s head. you can wear the trunk or drop the head again and link the trunk to head piece.. work either way. |
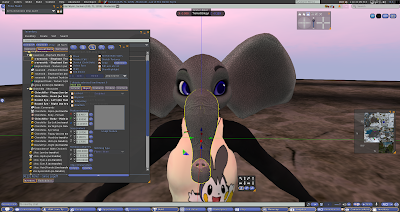 |
| a good thing about just adding the trunk over the head, is the possibility to move /place trunk upeturned or downturned. |
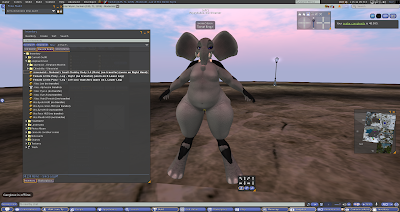 |
| wear the ravenoid body. Working shape values to adjust body is much easier than working head/eyes shape values to place eyes and head correctly fitting like the original avatar (chinchilla or viss ones) |
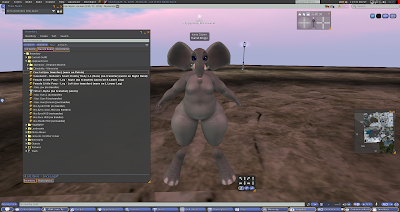 |
| add the poney legs.Whoa.. they dont fit. It is time to edit them and adjust to make them fit correctly on the avatar |
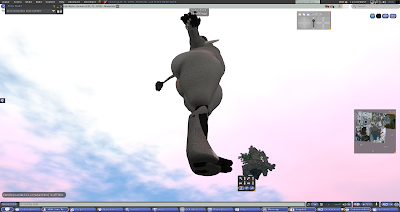 |
| without alphas you can edit and resize the leg pieces to make them fit properly |
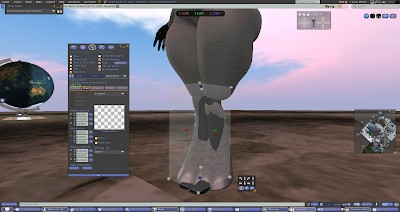 |
| copy the dimensions values from one leg and paste on th other.. voilá! 2 identical legs. |
after this, wear tail and tusks. I have added extra texture for a circus outfit but since i relly S#@$ at creating 3object, they´re in the notecard as an extra ( crappy) bonus. Use a clothing layer for tabard.
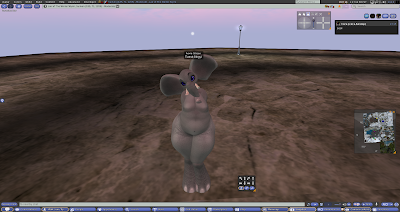 |
| and here you go, a new circus star is born. :D |


