segunda-feira, 18 de maio de 2020

ICE AGE Centaurs!!


Hello free fantasy beings! This is my first tutorial for Jinx Centaurs - My mods work for all 4 Jinx Centaur sizes!


For applier instructions there isn´t much to be said but wearing it and pressing the button ( which is the texture picture in the center). But i have added a normal and specular appliers in order to enhance the fur texture from the centaur part.
My tutorials focus on resident who are brand new to the editing parts/avatars world. I really hope it´s easy enough to anyone to have a good experience while modding.

You can click to enlarge the pictures and have a better idea of the instructions given.

!!!!  Normal and specular maps are only visible above high SL graphics! So, in case you dont run SL with this kind of graphic setting you wont be able to see them. They´re optional. The Applier is enough to get the mod i have made for you.!!!!

1- DROP YOUR CENTAUR PARTS - BODY AND TAIL OF CHOICE - ON GROUND!!! - THIS IS IMPORTANT!!


****no transfer textures and maps do not work properly if you have the parts worn. All my textures are just copy and mod.****
1- drop your centaur parts on ground.

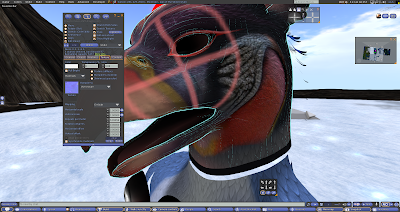
Note in the editing window /TEXTURE tab, the 3 kind of texture options
1 - Select the parts ( body + tail - you can use shift to select both at the same time)  and go to Texture tab. There you find the 3 texture areas, Diffuse ( texture) - for the colors and patters we want our 3d objects to have .
Bumpiness ( normal)  for extra 3d feeling. This option you can only see with your SL graphics above high quality.
Shininess ( specular)  for shininess. This option is used to give our objects the ability to reflect light... if it´s too shiny it´s going to look like plastic or metal, if it is too opaque it looks dull and artificial.

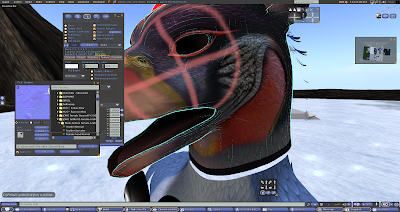
2- select bumpiness ( normal ) area... there´s a box with an "X" - click there to open your inventory and look for "wild centaur normal" texture.

These are 3 ones: Diffuse ( the color texture we see on skins and parts), 2 bumpiness (Normals) - to enhance the textures and 3 shininess ( speculars)

Jinx centaur has amazing textures , but if you take a close look it doesnt use normal maps nor specular ones.

2- select bumpiness and click the "X" gray box to access your inventory. Pick Wild centaurs normal texture - note how bumpy the body gets ( you must have your SL graphis above high resolution)

normals and spec maps might work with other mods and textures, but once the color texture doesn´t have the same fur pattern usually the results are sooo good. 
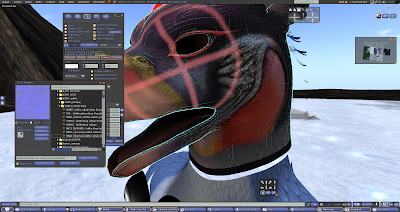
3- Now click on shininess ( specular) area and again on the "X" gray market box  to access your inventory and there pick wild centaur specular texture to apply on body and tail.
press shift to edit body and tail and again in the texture tab, click shininess( specular) area 

and on the "X" gray marked box to find your inventory: pick wild centaur specular texture ( map)

once done take body and tail back and wear them
4- Once applied both maps you can take them back to your inventory and wear them.

wear your centaur.. now it´s  applier time <3 
5- Finally wear the Applier and press the button( the picture) in the center to let the scripts perform their magic! - remember, the applier only work on script allowed areas.

wear the Applier and press the button ( the picture in the center)- the scripts are going to make their magic!

once done you´ll receive a message letting you know the applier script has worked and your centaur get its new color!

Voilá!


remember: normal and specular maps are only visible above high graphics. 

Hope you enjoy your centaur and the mod!!
And this is it. Again, normal and specular maps are optional. They´re nice to enhance fur 3d feeling and details, but only if you run SL on above high graphics. Thank you and Happy Mod!

domingo, 29 de dezembro de 2019

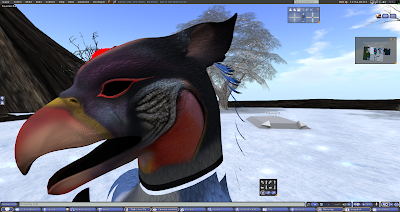
Oh My Griffin !


Greetings!!

I hope this  tutorial can make your modding experience much easier. It works for any skin mod you might want use on your Jomo griffin avatar - including male or female ones. 
This tutorial was built to make your Creator et Creatura and [GWI] fit to Jomo Griffin avatars. For other modders it might help as a guide but i can´t guarantee.

Firstly, the creator has added an extra folder to the avatars content box, the *Basis Texture ( name of your jomo griffin model). It provides all textures used on the avatar, plus if you want to start making your own  skins, you can use the basis and download the developers kit found it the inworlds mainstore.

But why that? 

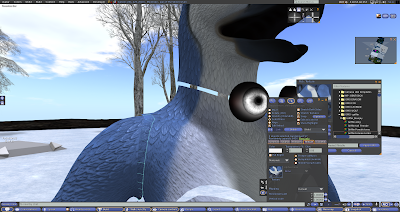
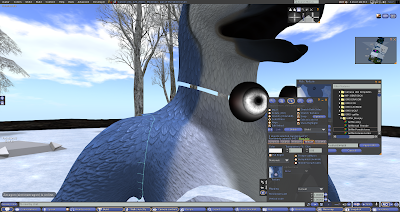
 For those already used to mod jomo avatars you can just skip this paragraph. For the beginners in the customization universe the creator has provided a model showing all faces the body has. Different colors, different faces.  - Please note the neck, arms and waist tips, they all have a different color ring around them.  This was made to avoid texture clipping when your avatar moves. *( texture clipping = blinking effect you can note when 2 parts with different textures are together). Confusing? Check the screen shots, it might help you better.
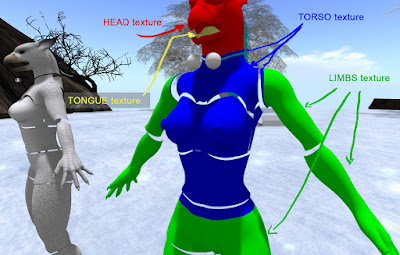
texture and faces dummy: each color is a different texture. 

Lets get started!!

For a perfect modding job, mind the extra faces.
Remember the editing tools  "edit linked parts and selected faces. These are going to be often used in this tutorial. Tou can always enlarge the pictures for details.
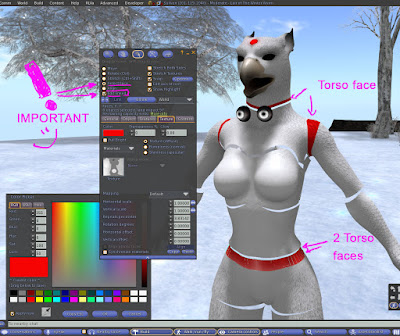
checked? let´s start!


select liked parts and add HEAD texture.
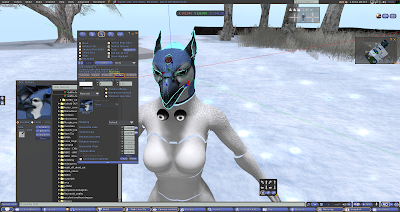
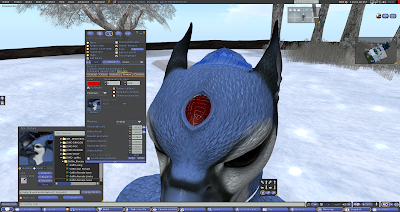
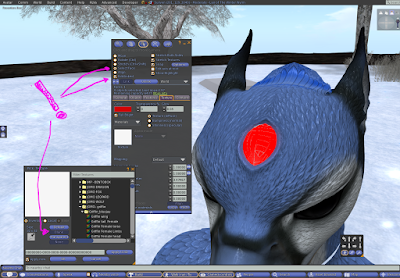
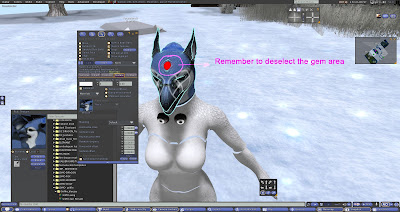
Oh! my griffin gem darkened! No fear. Select Linked parts and select face, add blank texture to it. - see? shiny again!

blank texture.

OR... when selected linked parts, press selected face ans shift to deselect just gem face and voilá! Head Texture applied without darkening the gem.

select linked parts + shift allows you to select and apply textures in several pieces.

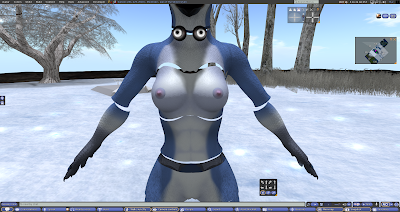
nipples are also TORSO texture.

FEATHER texture for neck piece.

LIMBS go for legs, arms, hands and waist.

so far so good? Awesome! now face details texturing job.

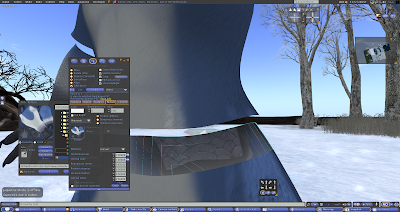
select linked parts, selected face to neck tip ring and add TORSO texture.

There are two rings in the female body ( and just one ring to make) - select linked parts and selected faces to add TORSO texture. 

It is right when you see a uniform skin going grom waist to belly

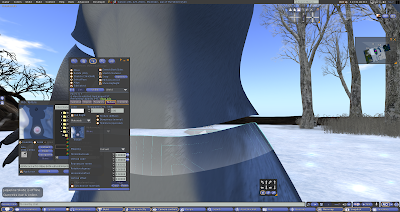
sometimes the textures are the same color, but the feather detail is different. I recomment  to spend a lil time swithing arm ring faces to TORSO texture for a non clipping effect. 

It is right when you have smothy effect coming from arms and going to torso. Repeat proceduce with the head piece, selecting the neck ring and adding TORSO texture. 
Wings, Tail and Penis get only one texture. For Tail, if you want the glowing gems effects remember to deselct their faces when adding the texture.


 VULTURE MOD:


That´s a new trick. For vulture mod i had to add new maps. NORMAL and SPECULAR ones.

What are they?

Normal maps are special textures added to bumpiness ( Normals) area to give a 3d texture effect. That gives the feeling of "whoa!! this is very leather like" or " it´s almost like real bricks". Jomo uses a lot of normal maps for its unique "feather" textures, or scales and fur - from other jomo avatars.
Specular maps are also special texture added to shininess area to give the shiny effect of things.

for the skinned, almost bald effect of the king vulture mod i added 2 maps. The  texturing job requires a bit more of knowledge... hope the tutorial helps you make it through without major stress.
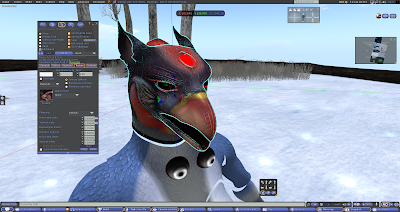
Firstly, add the HEAD texture to Diffuse area.
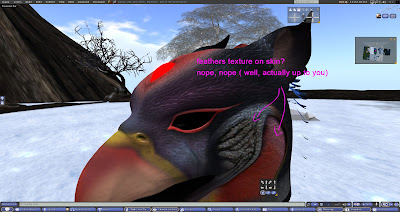
If you have graphics on high and above, you´re going to notive a "feather" effect over the skin area. It´s up to you leaving like this of changing maps for a  wrinkled skin 3d effect.

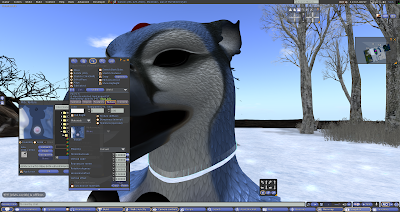
ok! You´ve decided to check how hard is the job ? First check bumpiness to start working with normal maps. Select Linked parts and select the whole head. After select "selected faces" and using shift - deselect neck ring. This is very IMPORTANT.
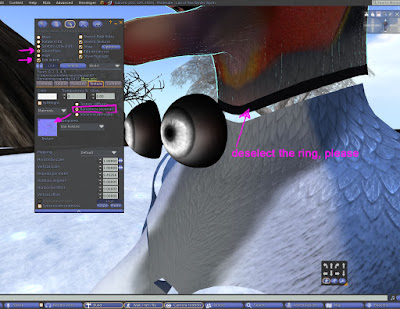

ok! You´ve decided to check how hard is the job ? First check bumpiness to start working with normal maps. Select Linked parts and select the whole head. After select "selected faces" and using shift - deselect neck ring.  


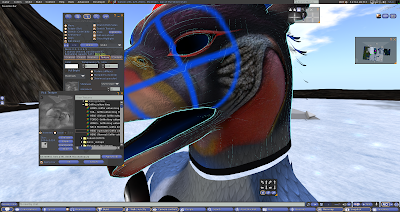
You know you´re working normal maps when you see the red  guide mark over your avatar texture, and in the editing window a bluish squase  for texture image.

press the bluish texture square to go to textures inventory - select NORMAL head texture to use.

add the Normal head texture ( it´s also bluish). 
After closing edit window you´re going to note a different head texture. It´s time to add specular map. Edit the body again,  and check shininess area in the middle of edit window. Select linked parts and selected face. Press shift to deselct neck ring again and start specular job .
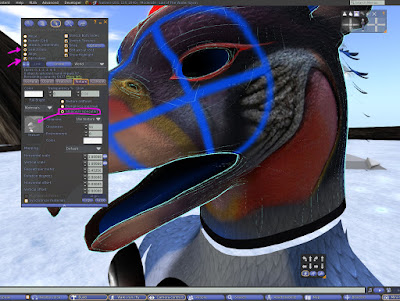


you know the neck ring is deselected becase its texture seems darken than the selected area.

click the silver texture box and choose SPECULAR head from your modding folder and use.  This is going to make you not see feather shininess on skin area when moving your avatar under light. Again These maps only work if you´re using high or above graphics settings from your SL preferences.

and you´re ready to go! congratulations.. this is not an easy job. 
 And if you feel you need help, please do not hesitate to contact me. Drop me a notecard or poke me when im inworld.

Happy modding!!!

Tiamat Bingyi

domingo, 3 de fevereiro de 2019

OHHH!! Shiny Tattoo O_O

Greetings!
Here i am going to explain how you can make "tattoo layers" for your jomo dragon.

****REMEMBER TO DROP YOUR AVATAR PARTS ON GROUND - No transfer textures may not apply on worn parts/avatars.****

Drop an extra wing and an extra body for your  TATTOO LAYER.

1- Basic Texture Applying work


I am quick explaining the  body texture process.. for a more detailed explanation, please, check https://slmod.blogspot.com/2018/11/the-dragon-flies.html.
You can roll scroll down to find the TATOO LAYER tutorial.


Drop extra Wing and  body for your tattoo work.

Add the right texture to the working part.. Tail , Male bits and Wing you can just drop onto de part. 

repeat process for other parts.

To work body remember to check edit linked part and apply texture... Remember to not select tongue,  eyes or horns  when applying HEAD texture.

Repeat process for other parts, 

Now, edit linked parts and check - SELECT FACE. - There are rings around waist, shoulder and neck . They exist to avoid texture clipping.

on detail: edit linked parts + Select face+ the avatar rings you have to work to have a perfect texturing job. waist and should you apply TORSO texture. and for neck ring use HEAD texture. 

and voilá!

 The  TATOO TUTORIAL:


After the base texture job, you´re ready for the "Tattoo layer". This might work for other jomo dragon tatoo you find in the marketplace.

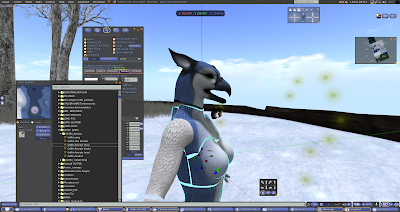
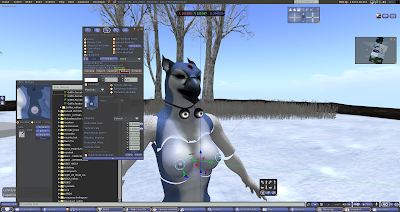
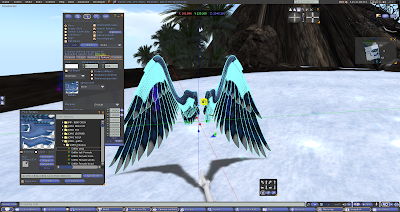
This is important! You want your tatoo bright and shiny - edit the wings and check  FULL BRIGHT and some GLOW.  If you have graphics on high and above, 0,05 is enough.. Above this value the tatoo looks too bright and blured.

After adding the texture, sometimes it comes full opaque,  check alpha blend on alpha mode.

The whole wing is invisible now.. and only the tatoo is visible.

detail: - the Tatoo Layer secret..- learn to work those

This is how it looks after work done. you might want to do some recolor...or just leave it white. 

Recolor? HellYeahh :D

be creative..you can pick whatever color you want.

i suggest renaming the wing by adding - TATOO by the end of its name. ( Else when you pick back your wing it might go to objects folder.

yes...

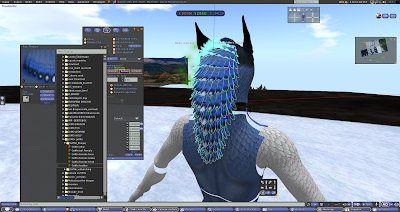
Repeat process with the body.. now using edit linked parts, Select head, ears , spikes and teeth and add HEAD- TATTOO

Depending on how bright you want your tatoo, relect spikes, teeth and put glow to zero. Else it gives your avatar an odd look.

Eewww..

pick a color to recolor your tatoo 

YEah.

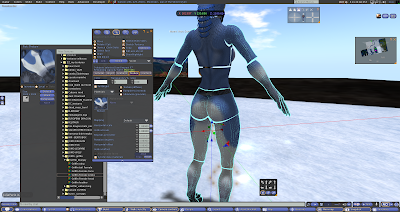
repeat process with torso and Limbs

add  alpha blending whenever is needed.

almost there....

For tattoo, you don´t really need to mind the rings, once it´s  invisible. 

hard to find/pick your tattoo layer? press ctrl+alt+T to see invisible parts. 

Rename the tattoo body by adding Tattoo by the end of the body´s original name.

a little more... 

pick your tattoo pieces and wear them.

You´re now a Storm dragon. The use of the tattoo layes is optional, but yeah.. i wanted to give some glow to my mods.
Hope you have enjoyed and if you need assistance, please drop me a notecard.
Happy mod!!

Tiamat Bingyi - Creator et Creatura